If you have a website for your restaurant, then it is a good idea to have an online food ordering system that allows customers to easily place orders for pickup or delivery. This task may seem daunting, but with a plugin like RestroPress, it is now very easy to add a food delivery system to your website.
What is a Food Delivery System?
A food delivery system is a way for your restaurant website to take orders online and make them available for pickup or delivery. It is a little different than allowing reservations on your site. With the skyrocketing popularity of food delivery apps, it is now as important as ever to make sure your customers can get food from you using a system that helps them do it without having to come in physically and place an order.
There are actually quite a few tools out there that can help you implement this on your WordPress website. One of the better ones (and free I might add) I have come across is called RestroPress.
Let’s take a look at the plugin today and see all that it has to offer.
RestroPress – Online Food Ordering System
RestroPress – Online Food Ordering System is a stand-alone WordPress plugin that you attach to your site and gives it the ability to receive pick up and delivery orders from your customers.
The frontend of the plugin is very user-friendly and intuitive. The backend interface is also easy to set up and easy to manage. The plugin comes with a ton of built-in functionality. However, it is lightweight and will not slow your site down if handled properly.
The plugin automatically builds the needed pages on your site when it is activated. For instance, there will be a food delivery page, a checkout page, a cart page, etc. Site users can easily manage all their orders from the frontend, and there is a pre-built user dashboard that allows them to easily manage their profile and orders.
The system interface set up is actually a lot like WooCommerce, except this caters to food instead of physical and digital goods. If you are familiar with WooCommerce at all, then you will be pretty familiar with the setup process.
The system also uses a library of easy to handle shortcodes that help you display things where you want on your site. For example, the [fooditems] shortcode displays food items on a page you choose.
As stated above, RestroPress is stacked with features and functionality. Some of the main ones include:
- 100% free to use plugin
- Add a detailed food ordering system
- Easily manage food items
- Easy to use interface
- Allow push notifications
- Receive pickup and delivery orders on the fly
- Full reporting system in the backend
- User-friendly interface for customers
- Add-on options available
- Multiple payment options
- Developer friendly
- Customer login, register, and dashboard for accounts
As you can see, RestroPress gives you access to a fantastic online ordering system that is open-source and free to use.
Let’s get it all working together.
How to Use RestroPress in WordPress
Step 1: Install and Activate the Plugin
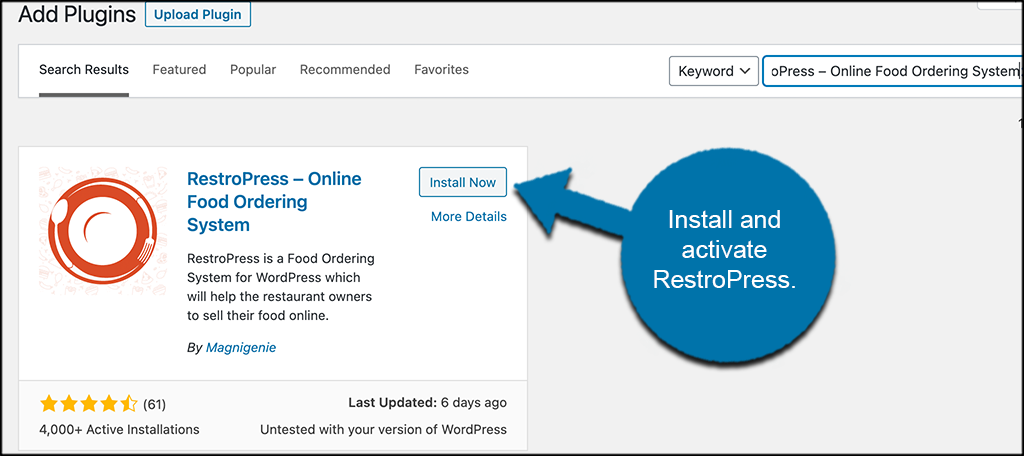
In order to start receiving food orders online, you first need to install and activate this WordPress food delivery plugin. You can do this by going to the Plugins page of the WordPress admin dashboard.
Simply use the search field to search the name of the plugin. When it pops up, install and activate it right from there.
Step 2: Access the Settings Page
Now that the plugin is installed and activated, you want to access the settings page for it so that it can be set up and configured according to what you want.
Click on RestroPress > Settings, located on the left side menu of the dashboard.
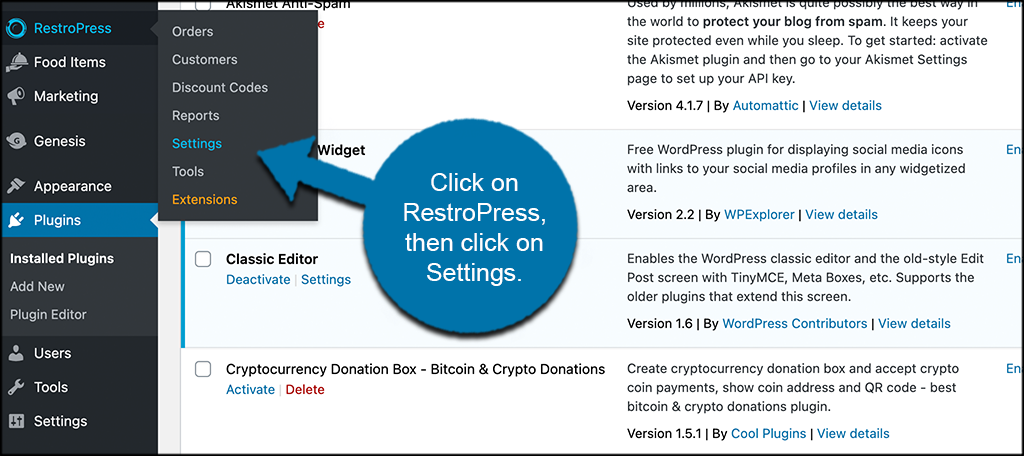
You can see that this option has appeared since you went ahead and activated the plugin in the previous step.
Step 3: Configure the General Settings
At this point, you have found your way to the main settings and configuration page for the plugin. There are multiple tabs and sub-tabs to go through and set up. Let’s just look at all of it together to give you a better understanding.
The first tab you are on is the “General” settings tab. Immediately, you can see that this area is the bulk of all the settings. Under the General tab, you can see four other sub-tabs, and the General sub-tab makes five total.
General
Pop through all of the general settings for the RestroPress plugin. There are quite a few, as the plugin gives you a lot of different options to work with. These will include order instructions, page locations, store location, and other items.

Currency
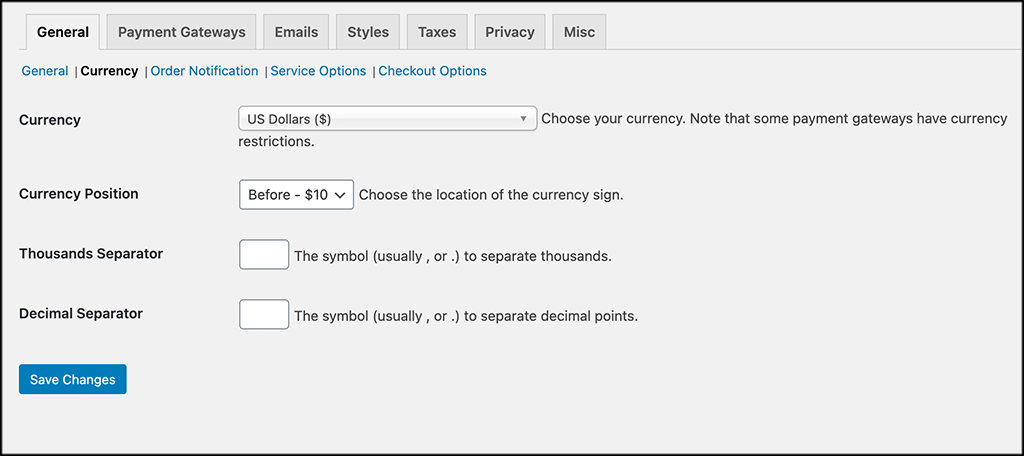
The “Currency” sub-tab under General is where you will select your currency. In other words, will you be accepting US Dollars or another currency? Go ahead and set all that up here.
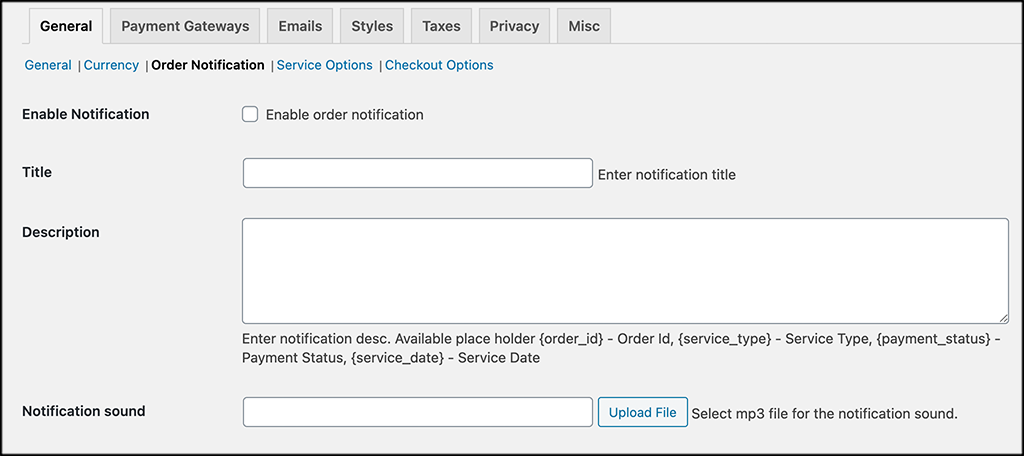
Order Notifications
In the notification section, set up order notifications for the RestroPress plugin. This includes the email address and even sounds if you wish.
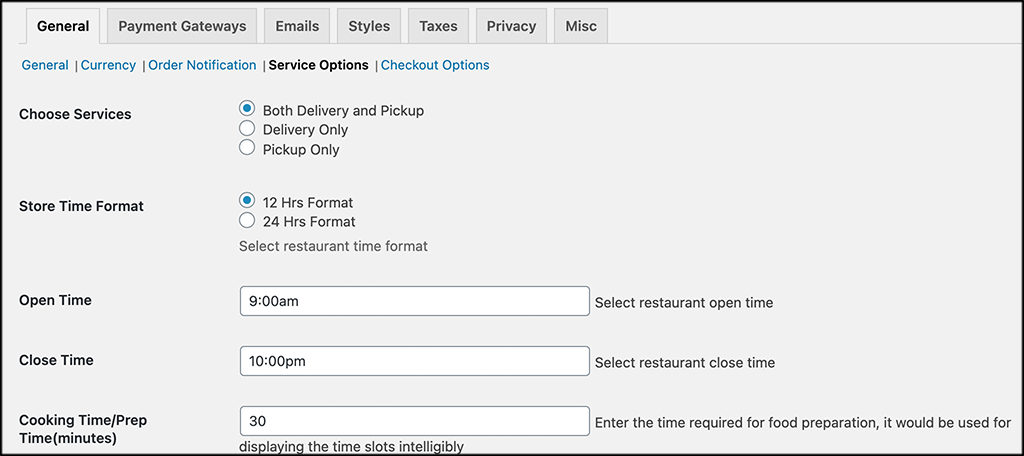
Service Options
This is where you will set up all your store service options. This includes things like store hours, choosing delivery and/or pickup, and some other items.
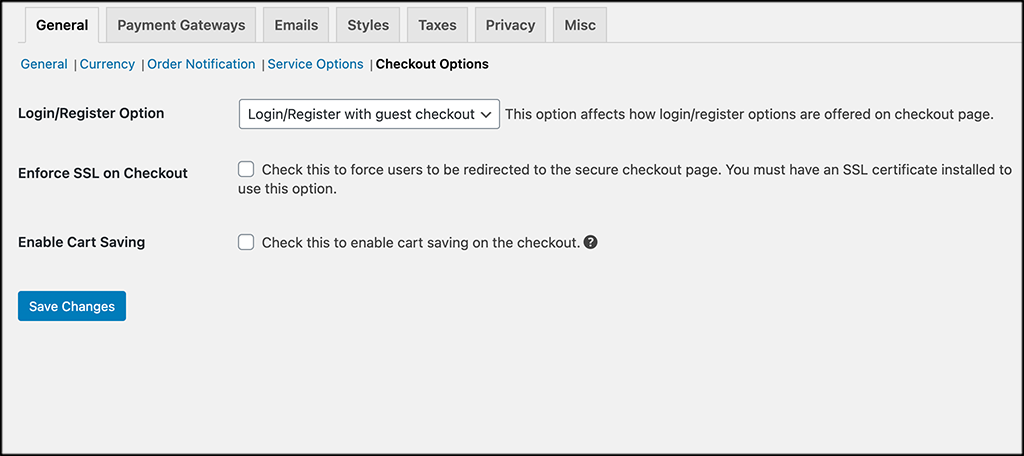
Checkout Options
Configure the store checkout options under this tab.
Step 4: Set Up Payment Gateways
Click on the “Payment Gateways” tab. Here is where you will set up the payment gateways to take money for all the orders you receive.
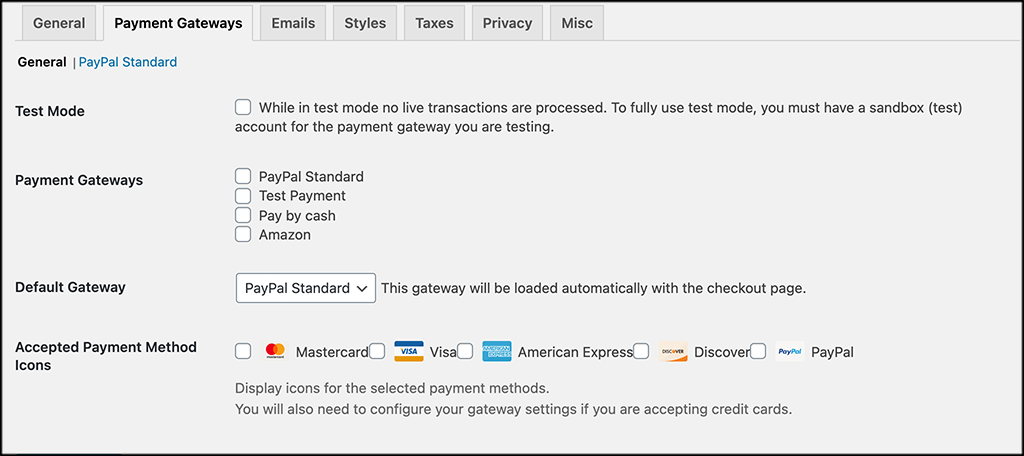
Note: If you choose to use PayPal Standard as your main payment gateway, or one of your payment choices, then click on the PayPal Standard sub-tab and enter the correct info to make sure it is running correctly.
Step 5: Set Up Order Notification Emails
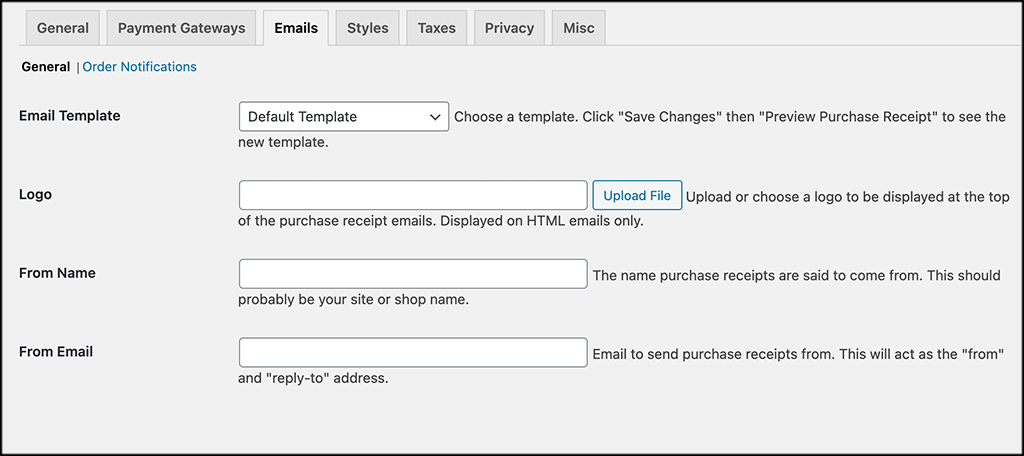
Now, click on the “Emails” tab, and in this area set up all the email notifications for orders and other general email items. You can also style your order form and brand it with your logo.
Step 6: Configure Style Options
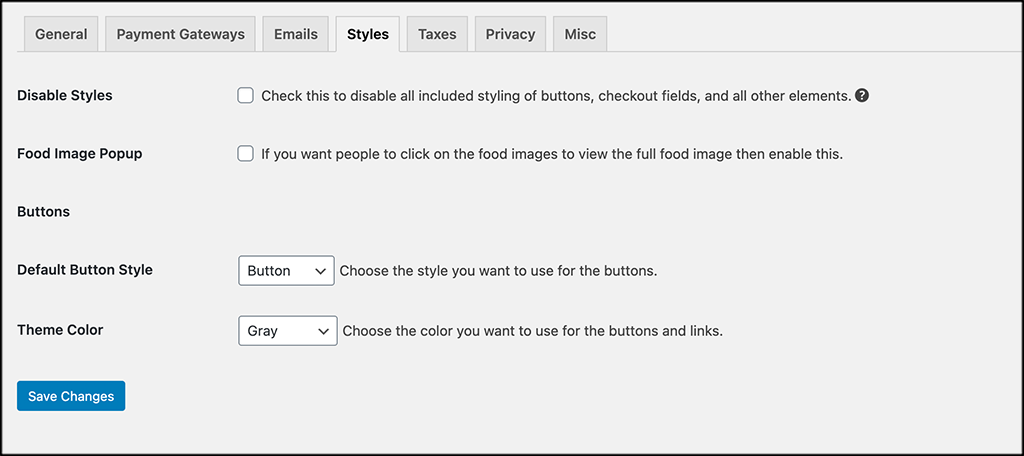
The “Style” tab will have some store styles and configurations available. These include a theme color option, as well as button styling, and a few other items. Go ahead and fill all this in how you see fit.
Step 7” Set Up Taxes
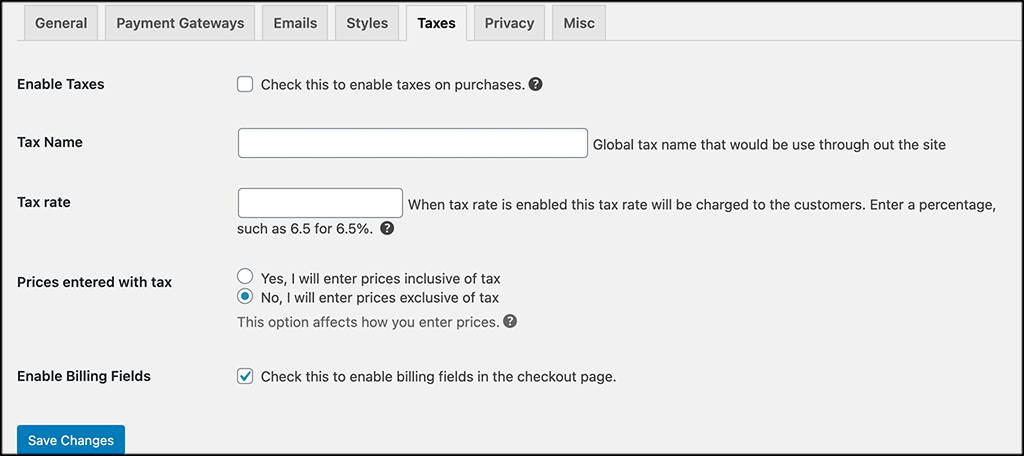
Yes, you have to worry about your taxes when having customers order online. This tab is where you will set up your tax rate and other tax items. Do this according to your state and local tax rate.
Step 8: Configure Privacy Options
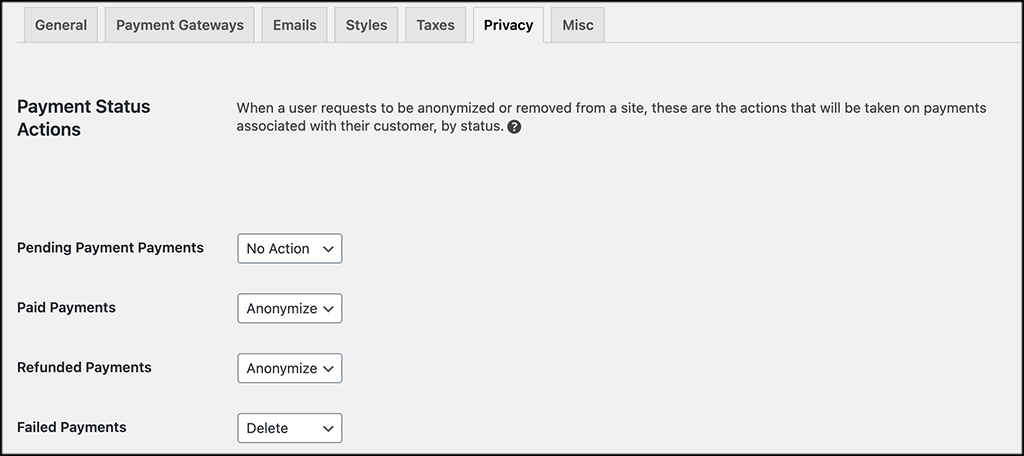
RestroPress gives you the ability to make certain payment types and functions private. Set this up how you want and move on.
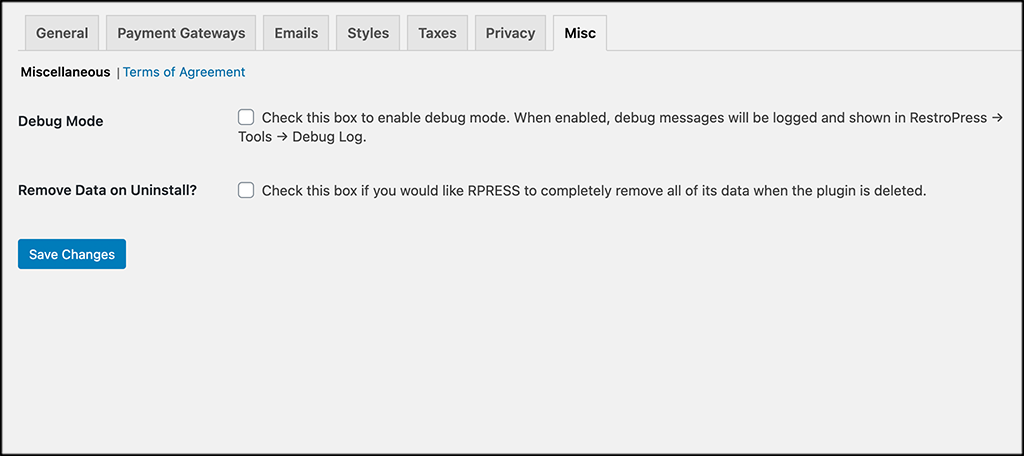
Step 9: Clean Up Miscellaneous Items
Last but not least, RestroPress provides a couple of miscellaneous items to look at. Go ahead and fix these how you want.
That’s it! At this point, the entire RestroPress online food ordering system is configured and should be running on your site. You are now ready to take online food orders for both delivery and pickup.
Other Relevant RestroPress Options
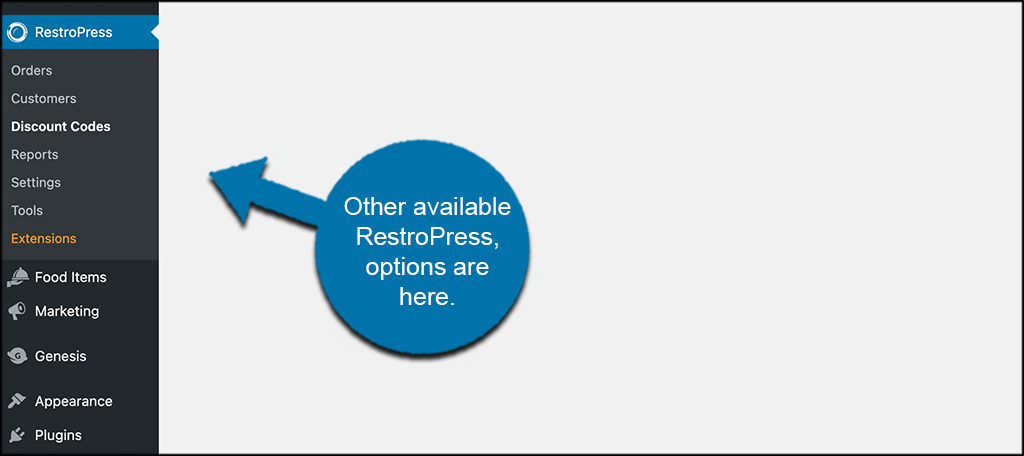
RestroPress has several other areas of interest in the plugin that you need to be aware of. They are all empty at set up, but over time, they will start to fill with relevant information and be useful to you.
All of your orders and customers will fill in under the relevant pages. You can go to them and see all the info over time. If you want to create discount codes for orders, you can also do that under the “Discount Codes” tab.
Finally, all available reports and other tools will also be readily available for you to view. You can access all of this under the main RestroPress menu tab on the left menu area of the WordPress dashboard.
Final Thoughts
If you own a restaurant, then having a website that gives customers the ability to place food orders for pickup and delivery could be a crucial part of your business.
It isn’t difficult to apply this functionality to a WordPress website. With a plugin like RestroPress, you can accomplish this fairly easily.
Have you tried a different method of adding a food delivery system to your site? Did you find that it worked well or are you looking for other options?
