
Most websites on the Internet use a database for one reason or another. For WordPress, this file keeps track of a slew of information. Everything from user data to the comment section is available in the database/" 91076 target="_blank">WordPress database.
In this article, we’re going to show you how to manage your database using the phpMyAdmin tool in cPanel. This can help you keep the information clean, optimized and secure.
Connecting to Your database/" 91076 target="_blank">WordPress Database
Before you modify anything in your database, make a backup copy. Any changes you make in phpMyAdmin are permanent and cannot be undone. Accidental changes can lead to everything from broken accounts to preventing WordPress from operating correctly.
As cPanel is a versatile tool and widely used, we’re going to show you how to access the database using this platform. There are many advantages to using cPanel, and phpMyAdmin is one of them.
phpMyAdmin is a free tool that comes with many different kinds of hosting. It’s a graphical user interface, or GUI, that is web-based and can be accessed from almost anywhere you have an Internet connection.
To access phpMyAdmin:
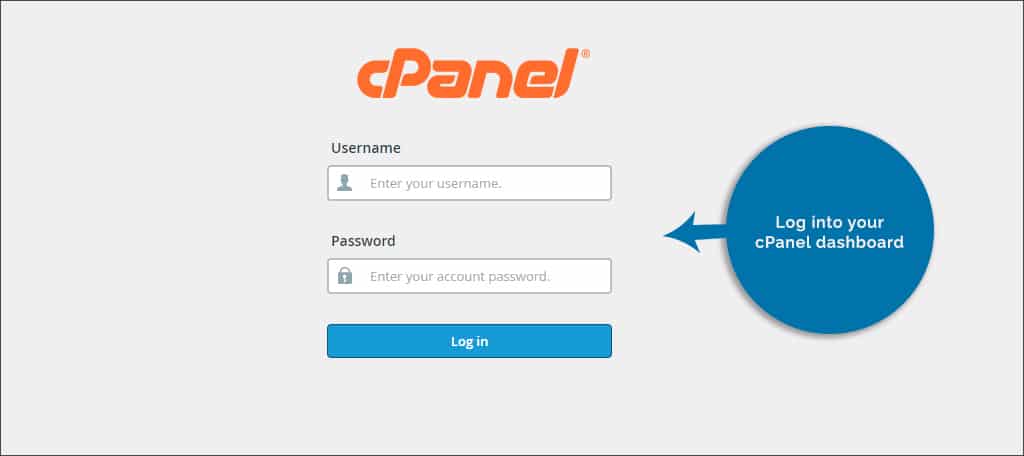
Step 1: Log into your cPanel dashboard.
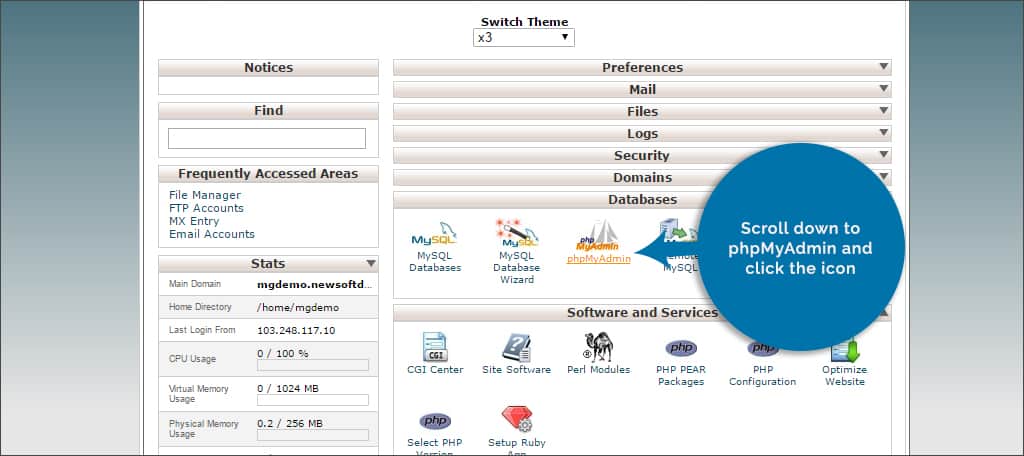
Step 2: Scroll down to phpMyAdmin and click the icon. This will be located under the header, “Databases.”
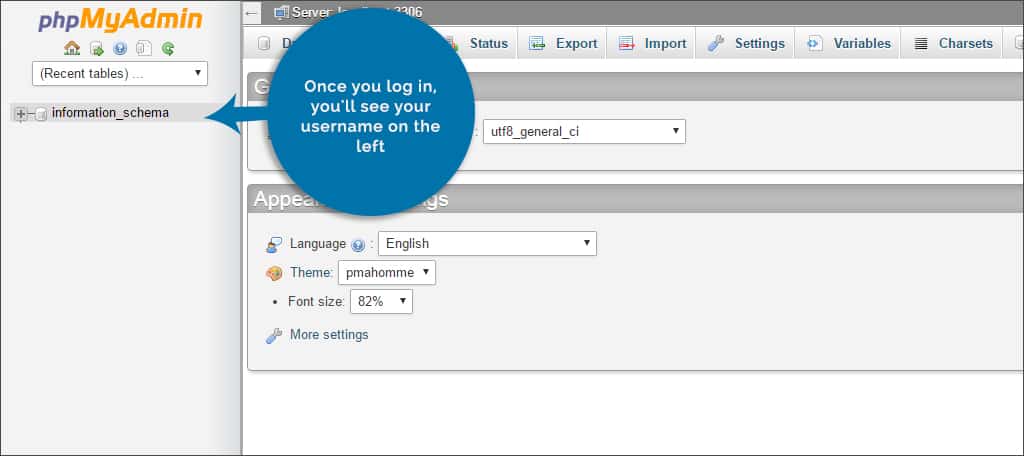
Step 3: Once you log in, you’ll see your username on the left. If the databases you have are not visible, click the “+” next to your username to expand the list.
Step 4: Click on the database that corresponds with the WordPress website you wish to access.
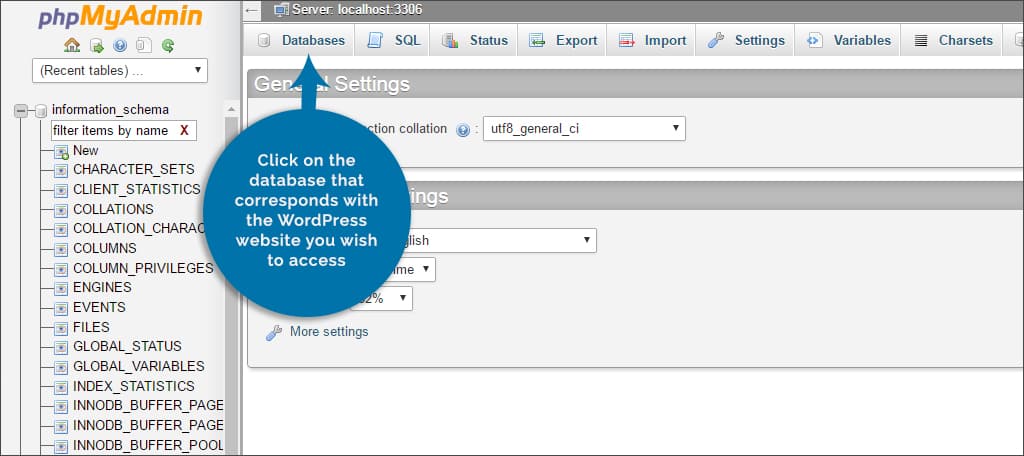
Step 5: You now have access to all the data tables related to your site.
What if you have more than one database?
If you don’t know which database you’re using for a specific WordPress website, you can find that by accessing your wp-config.php file. To do this:
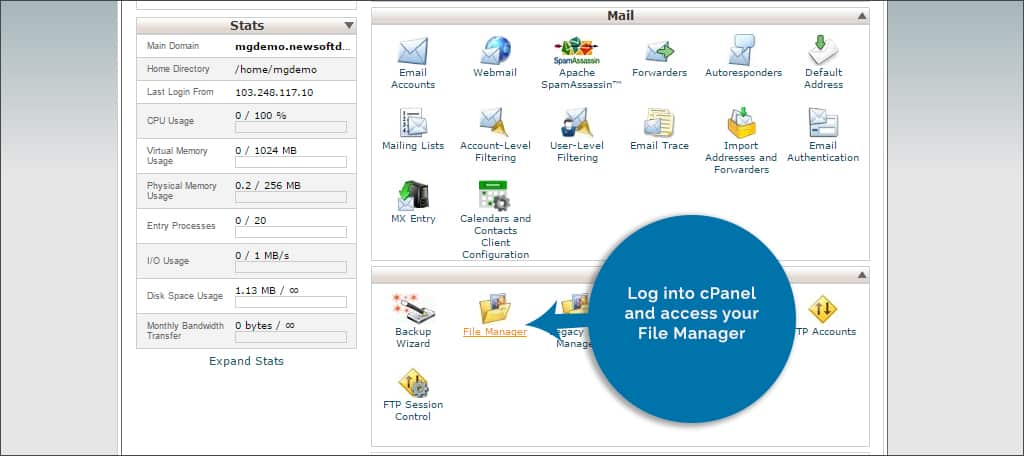
Step 1: Log into cPanel and access your File Manager.
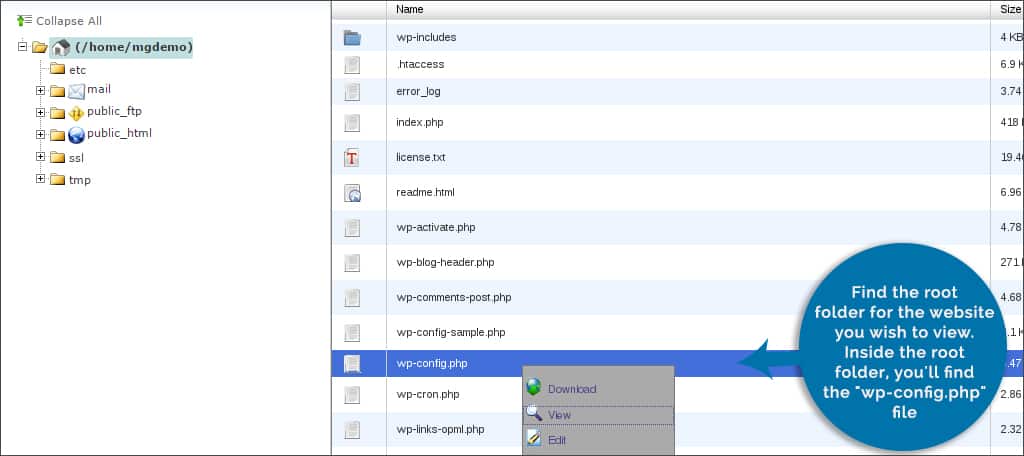
Step 2: Find the root folder for the website you wish to view. Inside the root folder, you’ll find the “wp-config.php” file.
Step 3: Edit the wp-config.php file and look for the following:
define(‘DB_NAME’, ‘username_wrdp4’);

NOTE: username_wrdp4 will be different in your configuration file. The actual name of your database will follow the “DB_NAME” part of the code. This is the database you want to use in phpMyAdmin.
Step 4: Close out of File Manager and cPanel without saving anything.
Creating Backups of Your Database
Regardless if you are managing a database or not, it’s always good to make backup copies of your website. This can prevent a myriad of problems and help in a speedy recovery in the event of a disaster. To create a backup of your database, you have two options available: export or a plugin.
Exporting Your Database
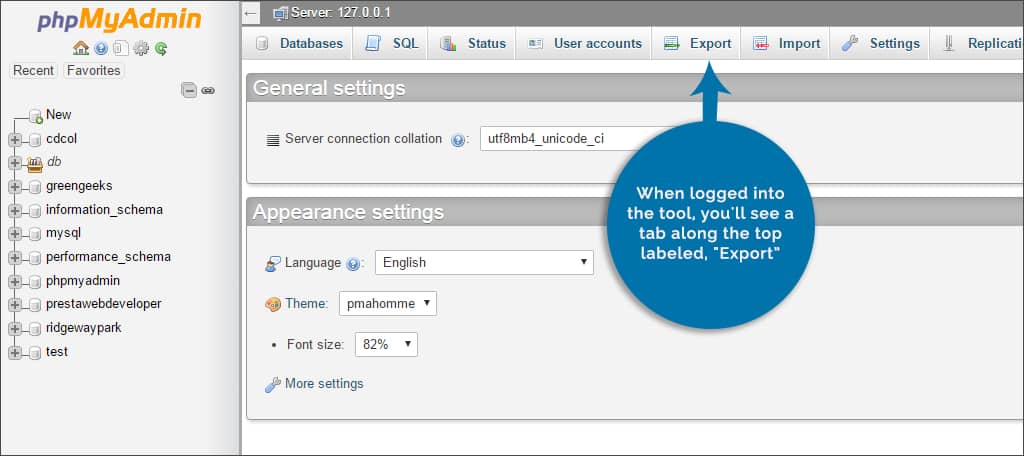
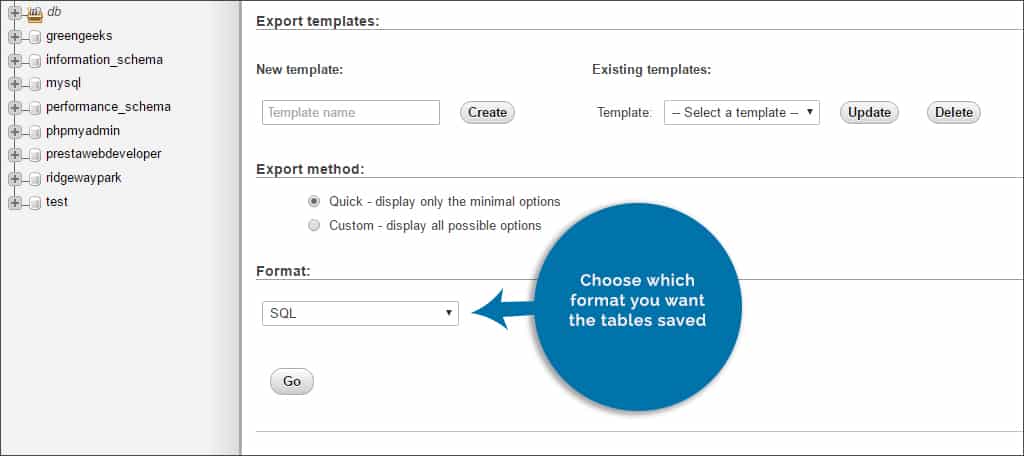
phpMyAdmin has a built-in feature to back up your information. When logged into the tool, you’ll see a tab along the top labeled, “Export.” When you click this tab, you’re provided with a couple of options:
Export Method: Determine if you want to customize the backup by selecting options yourself or simply do a quick copy. This allows you to select any tables you wish in the event you don’t want to do a total backup.
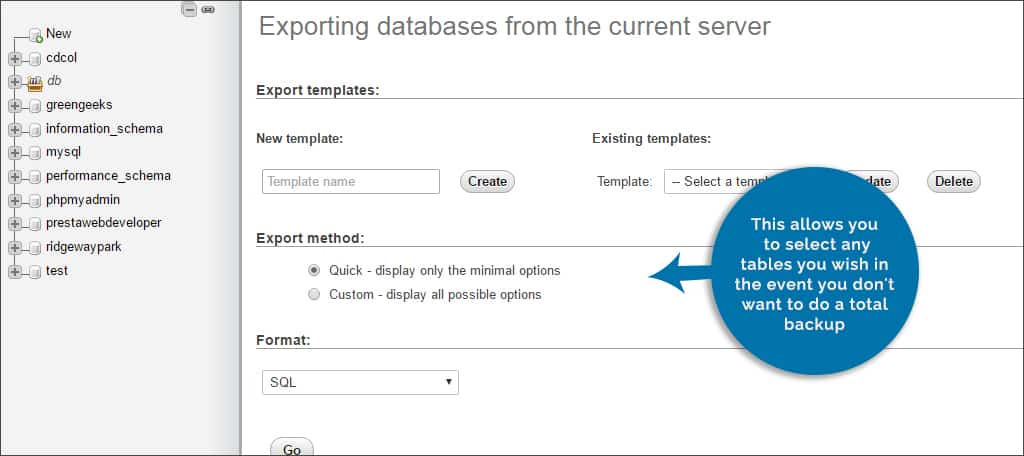
Format: Choose which format you want the tables saved. If you want to recover, it is easier to select the option for SQL.
Using a Plugin
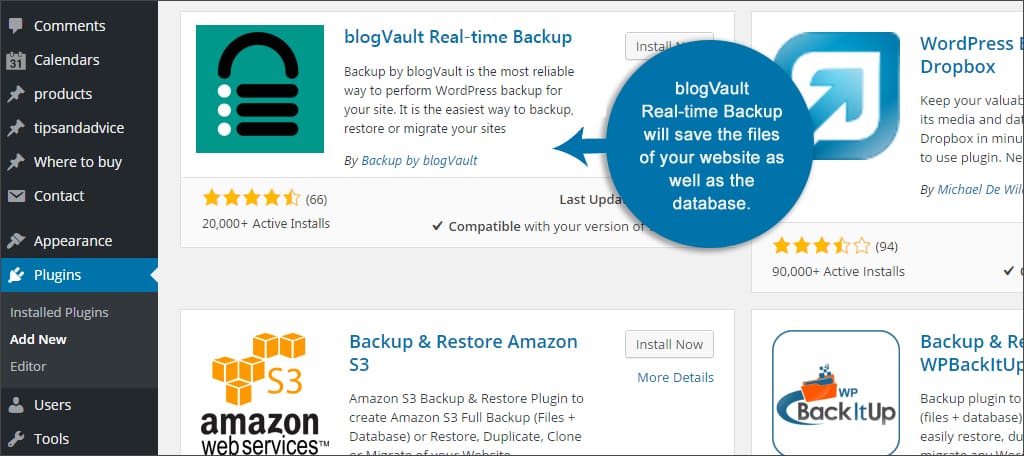
If you would rather spend less time in phpMyAdmin, you can always use a plugin to back up your files. Plugins such as blogVault Real-time Backup are very useful. This is because the plugin will save the files for your site as well as the database.
Optimizing the Database
Like many other computerized applications, databases can become fragmented over time. This can cause the information retrieval to be much slower than it could be. As a result, it affects site performance even if just slightly. To optimize your database in phpMyAdmin:
Step 1: Log into phpMyAdmin from cPanel.
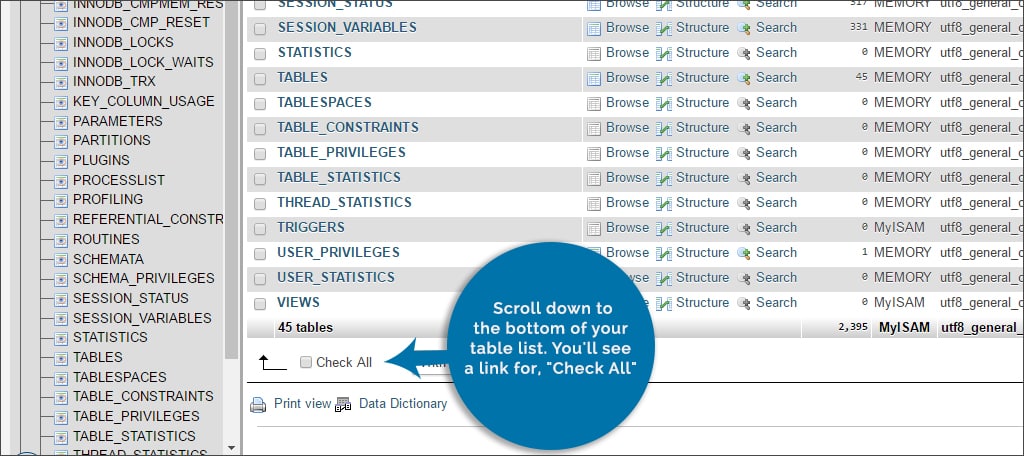
Step 2: Scroll down to the bottom of your table list. You’ll see a link for, “Check All.” You can either click this link or the empty check box next to it on the left. This will select all of your tables.
Step 3: On the right side of the Check All command, you’ll see a drop down window that says, “With selected.” Click this to open the list of controls and click on, “Optimize table.”
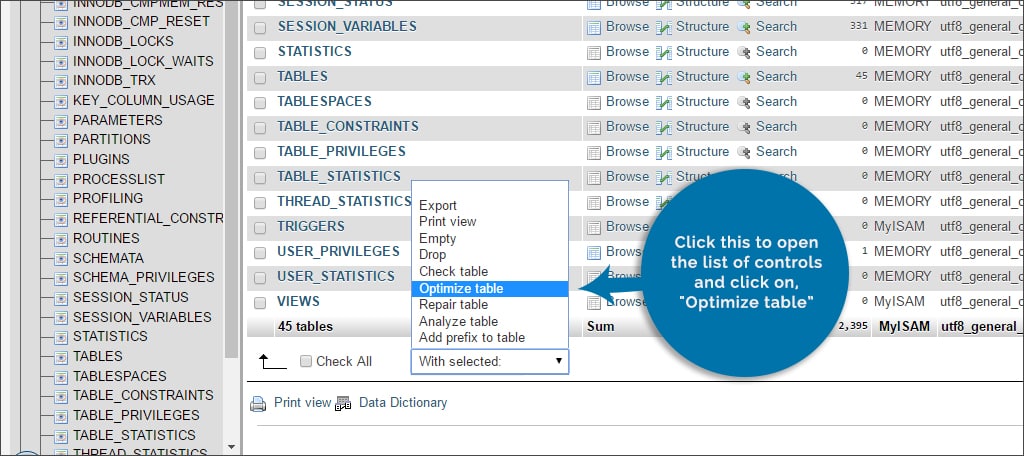
Step 4: As soon as you click this control, phpMyAdmin will automatically run its defragmenting application.
Optimizing the tables in this fashion help make the system run smoothly while making the size a bit smaller. If your site has been up and running for years, these changes may be noticeable to you as well as your visitors. It may even impact the speed of your site in terms of SEO.
What Do the Tables Mean?
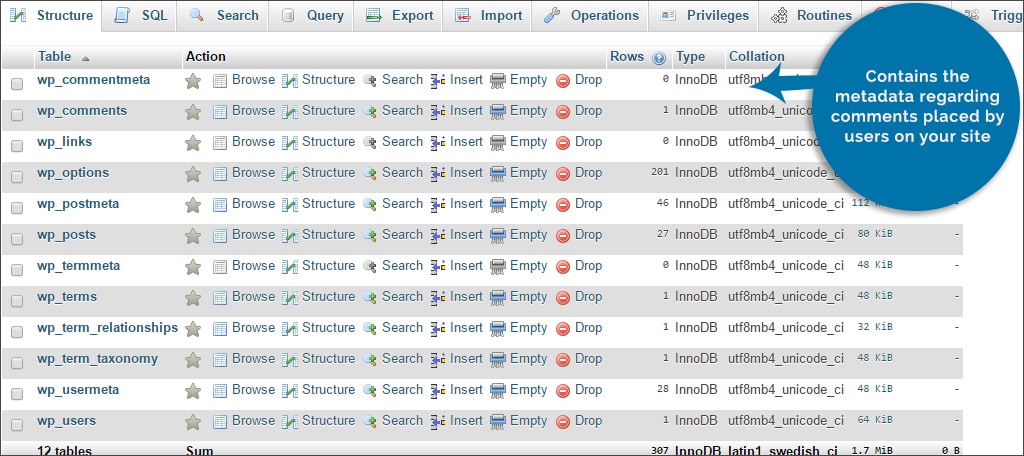
wp_commentmeta: Contains the metadata regarding comments placed by users on your site.
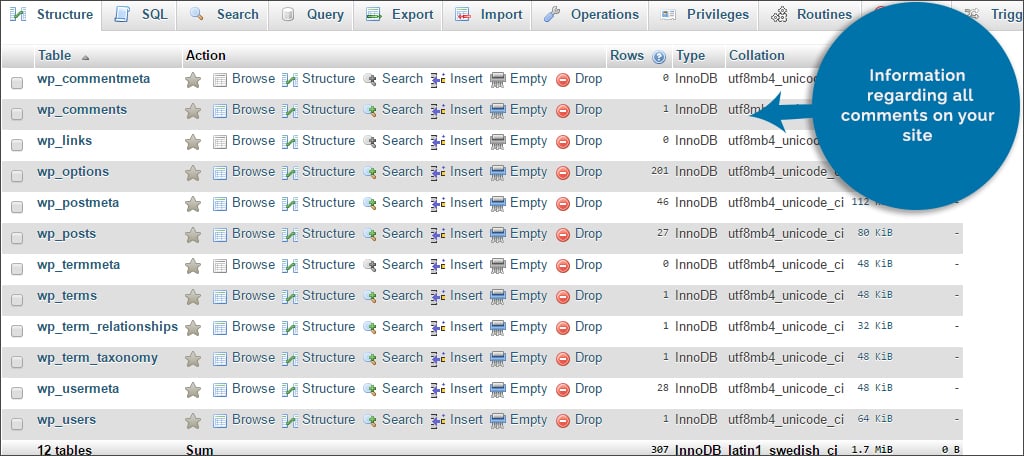
wp_comments: Information regarding all comments on your site.
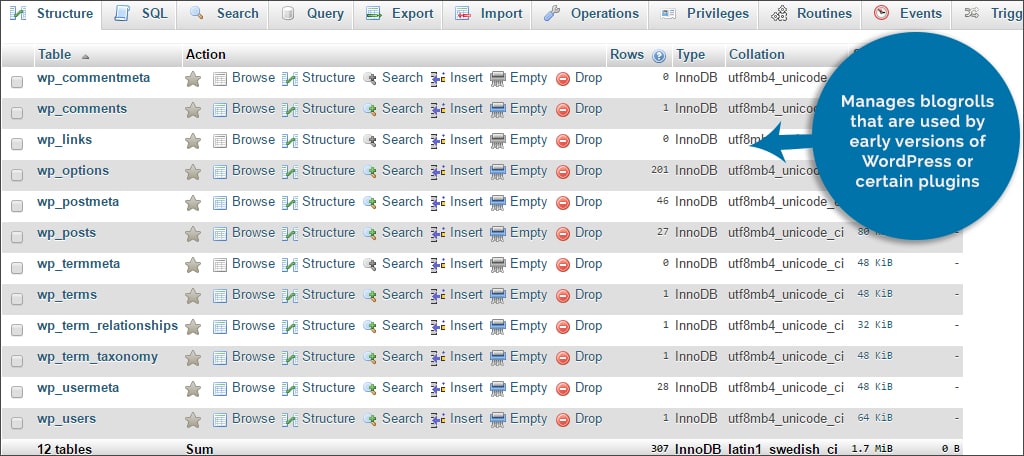
wp_links: Manages blogrolls that are used by early versions of WordPress or certain plugins.
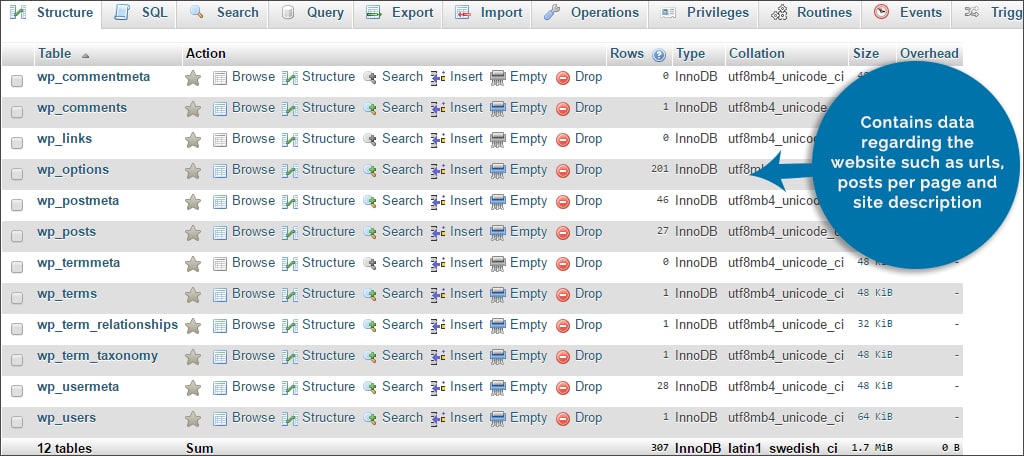
wp_options: Contains data regarding the website such as urls, posts per page and site description.
wp_postmeta: Stores the metadata regarding posts and pages.
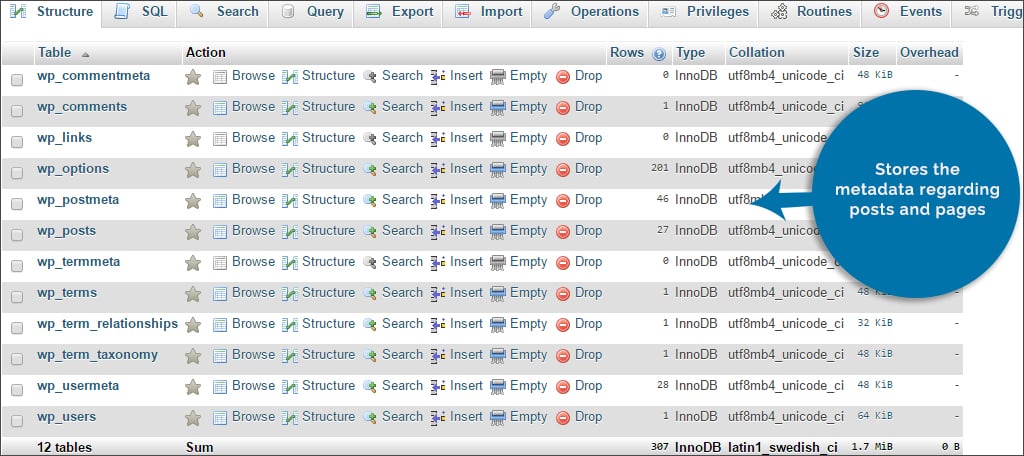
wp_posts: Saves all of your content data such as types, dates and text.
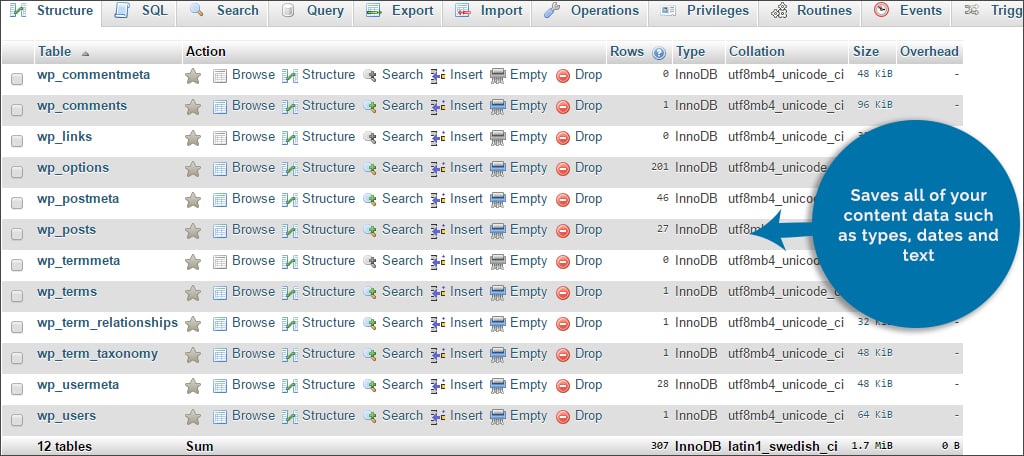
wp_terms: Stores taxonomies regarding content such as categories and tags.
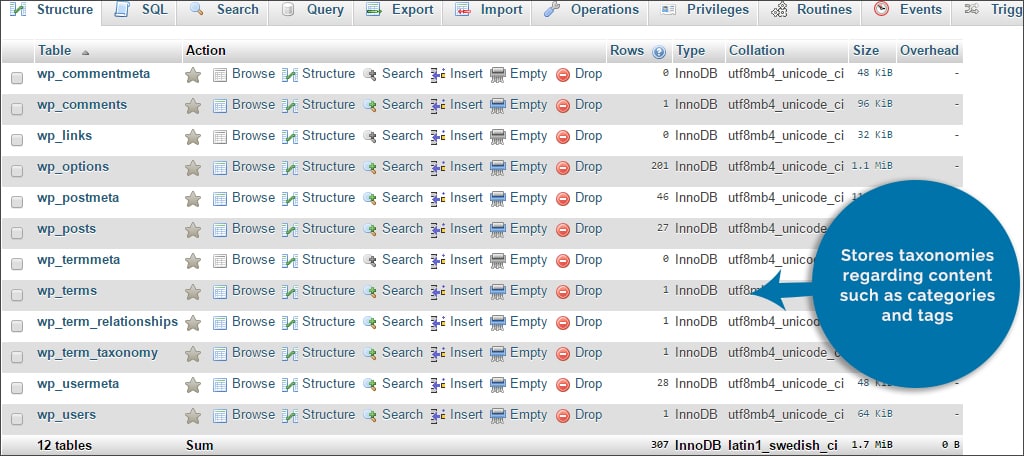
wp_term_relationships: Saves the relationships between posts stored in the wp_terms table.
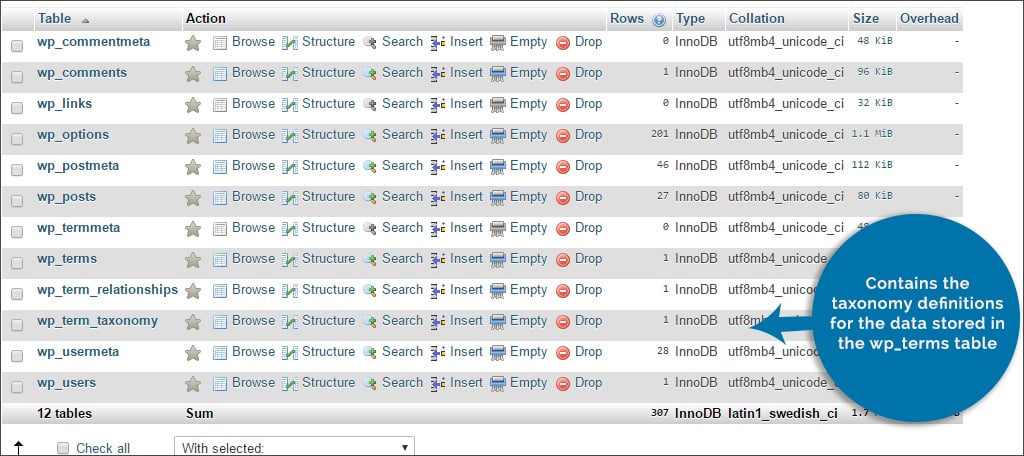
wp_term_taxonomy: Contains the taxonomy definitions for the data stored in the wp_terms table.
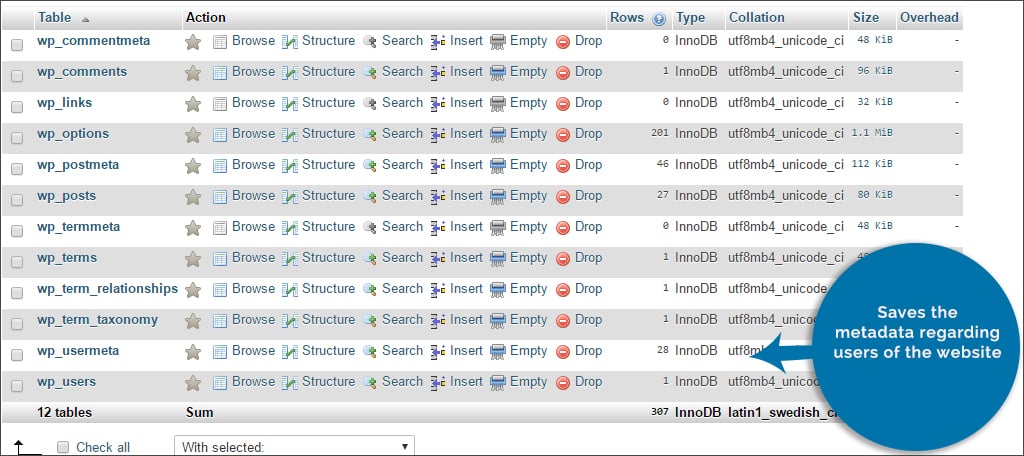
wp_usermeta: Saves the metadata regarding users of the website.
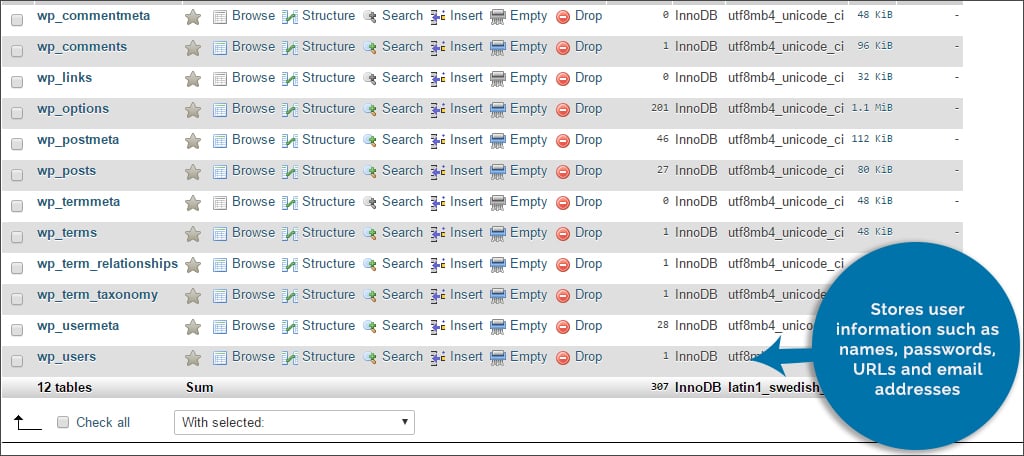
wp_users: Stores user information such as names, passwords, URLs and email addresses.
These are only some of the tables that may be available in your database. This list can become quite long with every plugin you add. Each plugin can have a collection of tables for settings, functions and data.
Most of the time, these tables are easy to identify as they will often be labeled by the name of the actual plugin.
What are some other things you can do in phpMyAdmin?
phpMyAdmin has a range of abilities when it comes to managing your database. Just remember to back up the system before making any adjustments. A wrong deletion here or modification there and your website could suffer major problems.
Modifying Users
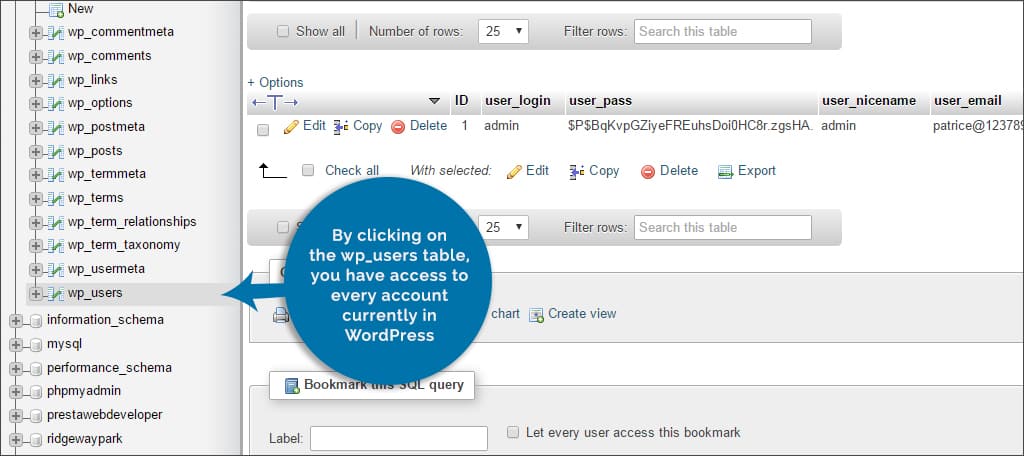
Although it is often easier to modify users from WordPress directly, you can alter information stored in data tables. By clicking on the wp_users table, you have access to every account currently in WordPress.
This is convenient in the event that the admin password was hacked and you’re no longer able to access the website.
Changing WordPress Options
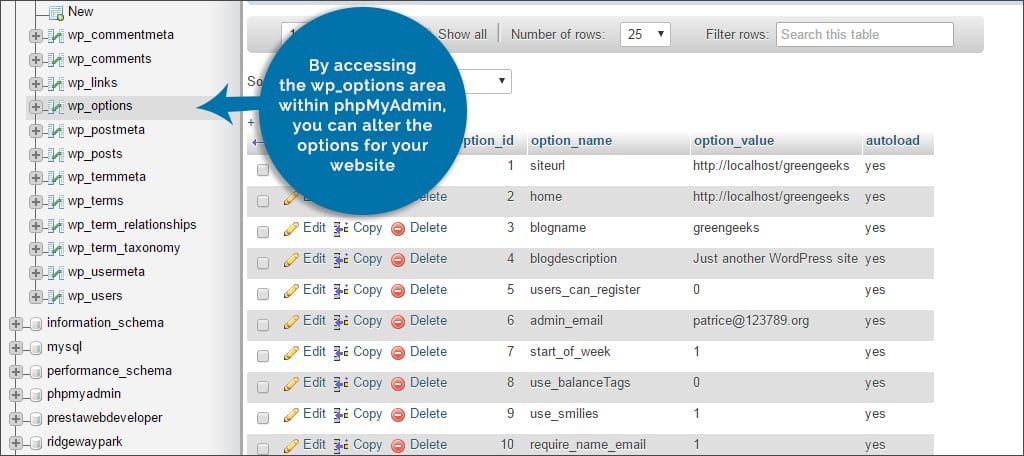
By accessing the wp_options area within phpMyAdmin, you can alter the options for your website. For example, things like site url, blog name and even the mail server are all available.
If there is an issue with the mail server password and you’re unable to access the admin panel in WordPress, it’s available within this table.
Directly Accessing Plugins
Perhaps you have a plugin that is preventing you from accessing your site. In this case, you can access the plugins directly from its table and modify how it behaves or even deactivate it entirely.
Using phpMyAdmin to access your database/" 91076 target="_blank">WordPress database gives you access to a great deal of information. From optimizing its functionality to fixing problems, knowing how to utilize this tool is invaluable. Keep your site operating at peak performance by learning how to manage it efficiently.
What kind of tools do you use to optimize your website? When’s the last time you checked the size of your data tables?

u’re the best
Thank you Luke 🙂
You could mention, that phpMyAdmin is available as a WordPress plugin too – https://wordpress.org/plugins/wp-phpmyadmin-extension/