Have you ever wanted to set a WordPress featured image from another URL? This can help you use images that you do not currently have uploaded to your website’s media library. Thus, it can be very convenient to use.
However, this is not a built-in feature. And as a result, you will need to install a plugin to add this feature to your website. And I have found the perfect one for the job.
Today, I will demonstrate how to use the Featured Image from URL plugin to do just that.
Why Use A Featured Image URL
Now you may be wondering when exactly you would need to set a featured image via URL in WordPress. After all, you could just upload the image to your media library and set it normally. And there is a really good reason.
If you don’t have access to the image at that moment.
Many web developers run multiple blogs and for various reasons, you may want to use an image located on a different website that you run. But what if you can’t get the image for a normal upload? Using the URL method allows you to get a featured image from your other website.
This can save you a lot of time when you are doing it frequently and can make running multiple websites more manageable.
Another huge advantage of this is saving space on your web server. As your website grows, you will undoubtedly have storage capacity issues. In most cases, this will result in you purchasing more server space from your web host.
However, having the images stored in a mother website’s server and uploading them vis URL means they will not take up any additional space.
Installing Featured Image from URL
The Featured Image from URL plugin makes it easy to set a featured image in WordPress via URL. You can set featured images on posts, pages, and custom post types. On top of this, you can add your own custom CSS to create hover over effects or just use the 18 built-in ones.
Luckily, the plugin is very simple to use, so you shouldn’t encounter any problems. So let’s get right into it.
Note: If your theme does not support featured images, the plugin has a feature that will allow you to automatically post them at the top of the content. So, you don’t need to worry about featured image support.
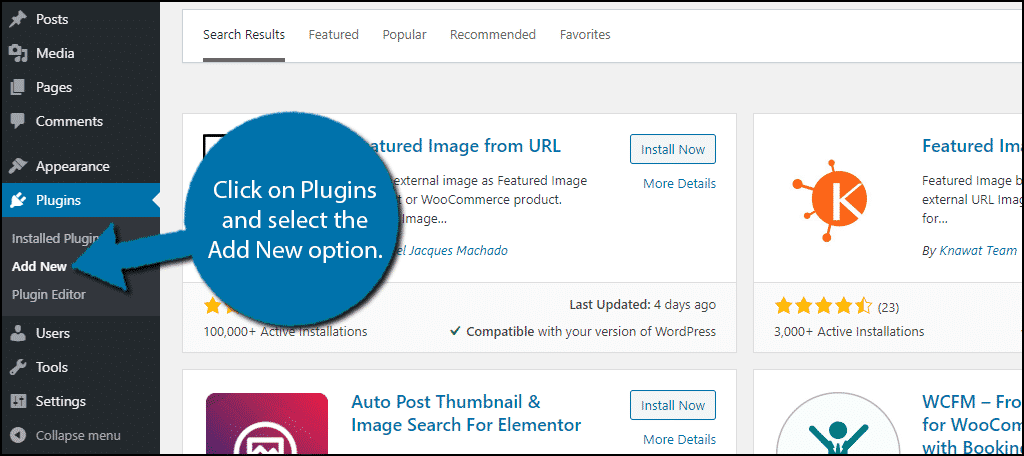
Let’s start by clicking on Plugins and selecting the Add New option on the left-hand admin panel.
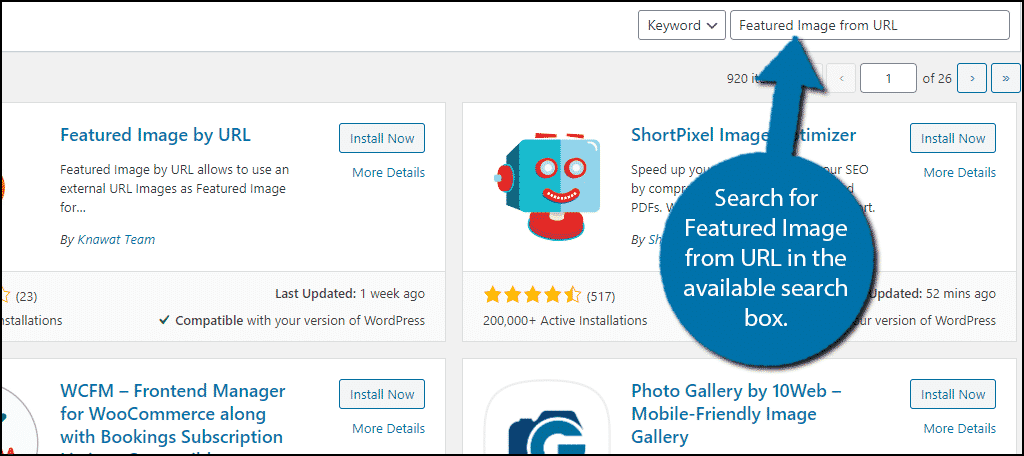
Search for Featured Image from URL in the available search box. This will pull up additional plugins that you may find helpful.
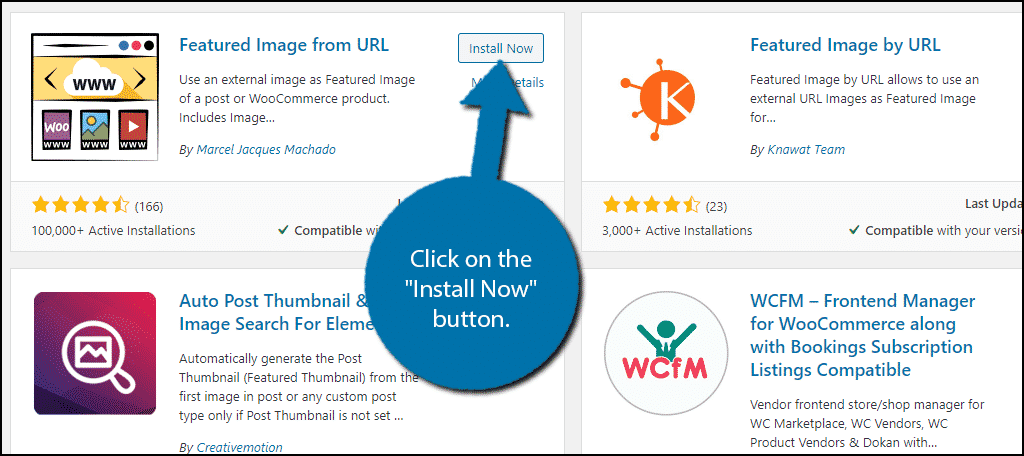
Scroll down until you find the Featured Image from URL plugin and click on the “Install Now” button and activate the plugin for use.
How to Get the Featured Image URL
Before we go any further into this tutorial, we need to get an image URL. This is pretty easy to do and can be done on any website, even if you do not own it.
However, you can face some legal repercussions if you are using images that do not belong to you on your website. Thus, this should only be done when you either own the image or have permission to use them. Otherwise, you may have some hefty fines coming your way.
Visit the website that contains the image. Right-click the image and select the “Copy Image Address” option.
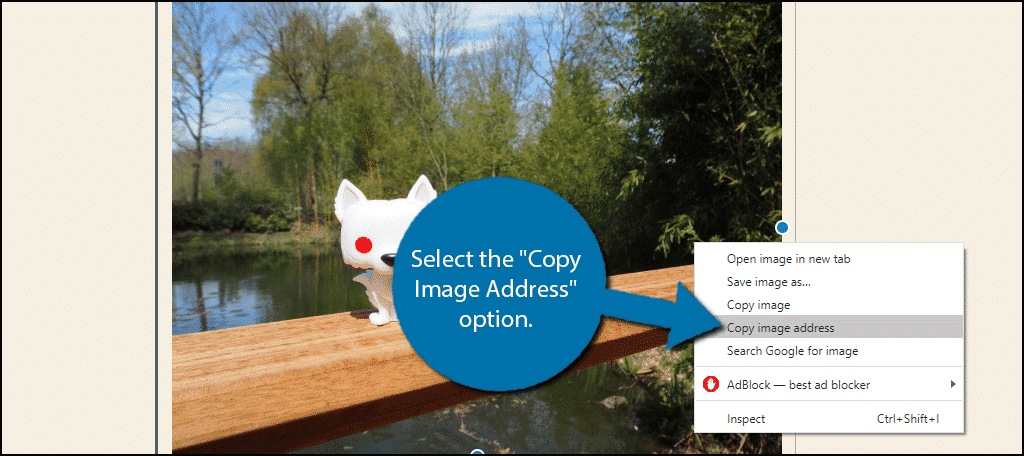
The image URL will now be saved to your clipboard and can be pasted in the appropriate location when necessary. Just remember you can only copy one image at a time.
Note: If you are planning on doing this for a lot of images for some reason, you will find being limited to one copy at a time a bit limiting. Instead, I recommend making a notepad or word document. That way you can create a list of all of the image URLs you will be using and where you got them from. This will save you time when entering them into the plugin.
Using Featured Image from URL
In reality, the plugin is ready to go the moment you activate it. However, you can change a few of the settings first.
Note: For many websites, the default settings will be more than enough. However, I do encourage you to take the time and customize the setting because this tends to have better results overall.
On the left-hand admin panel, click on Featured Image from URL and select the settings option.
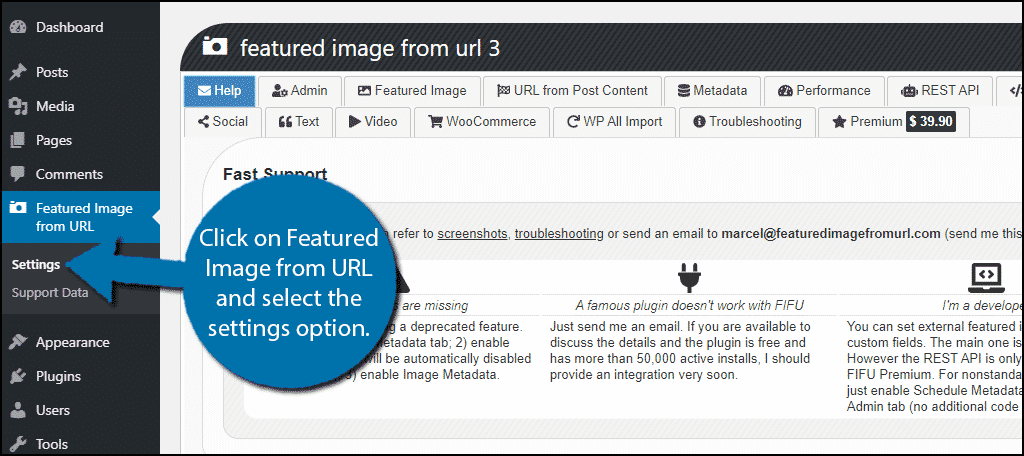
The settings are broken up into 16 different tabs. This plugin has a ton of customization options that I encourage you to explore. Many of the features are locked behind the premium version of the plugin, which you may want to consider using.
When you are done going through the options, you are ready to begin setting featured images.
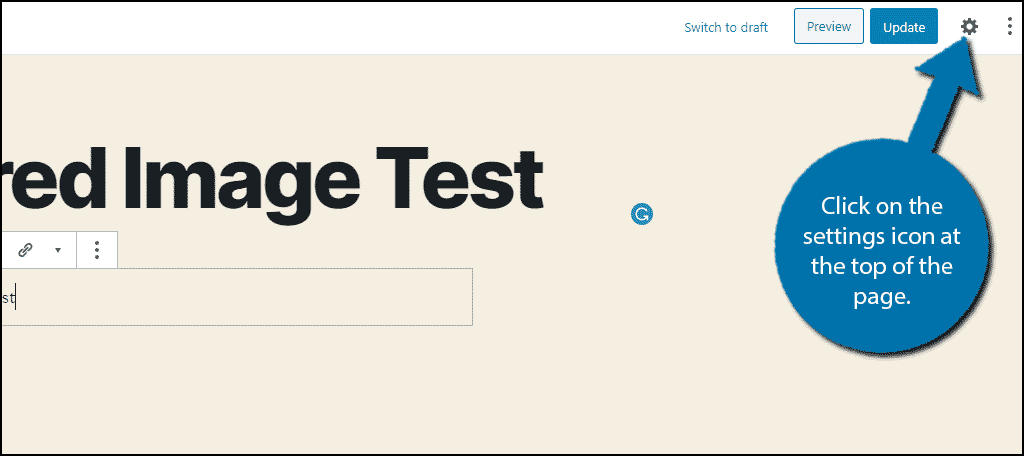
Go to any post, page, or custom post type on your website. Click on the settings icon at the top of the page.
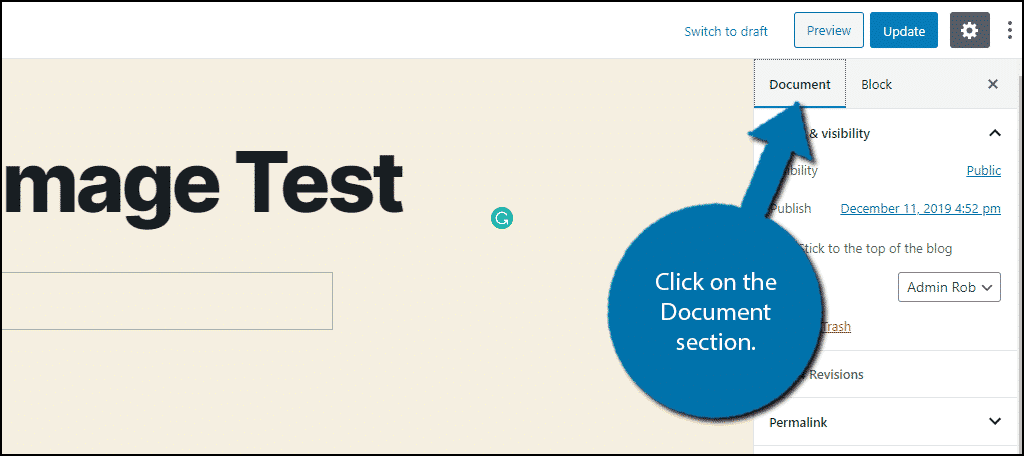
By default, you will start in the Block section. Click on the Document section.
Scroll down until you have found the Featured Image from URL option. In it, you will find a text box to paste the image URL. Paste your image’s URL here.
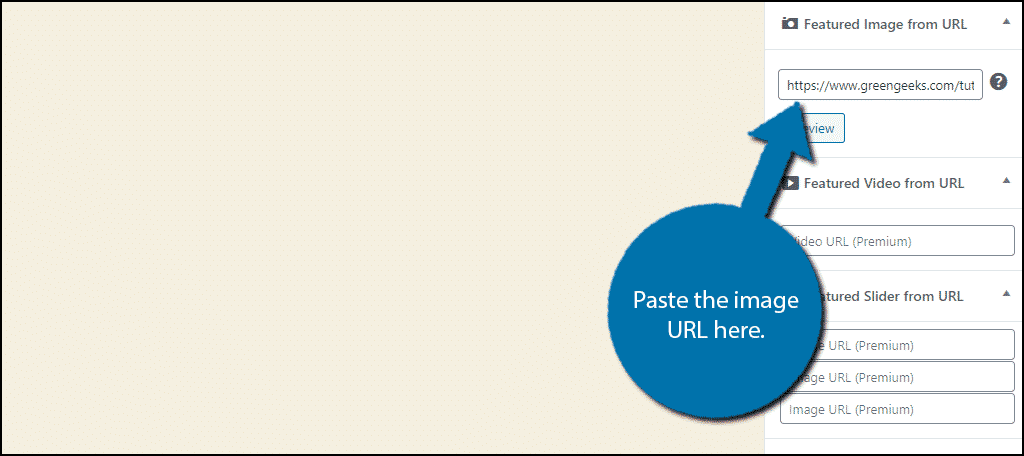
You can click on the “Preview” button to see what the image looks like. Save the changes and you can view the featured image on your website.
Note: While the “Preview” button works for the plugin, the same cannot be said about the one built into WordPress. The preview option for the post or page did not display the image while I was testing it. Instead, I had to save the changes and test it on the live page.
Using A Keyword
The plugin also has a second feature of which you can take advantage. In the same box, you can paste the image URL, you can also enter a keyword. The plugin will check through a series of images to find you one that matches the keyword.
This can be extremely useful for some websites. Simply enter the keyword into the text box.
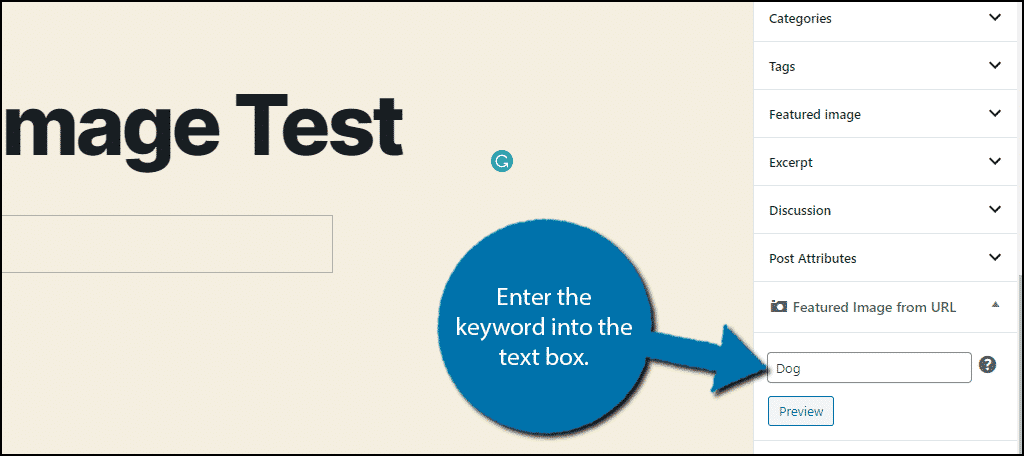
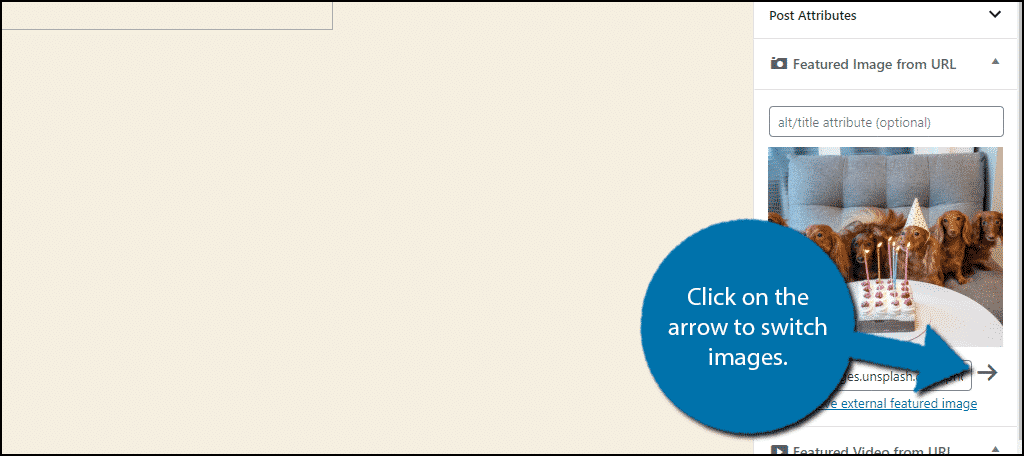
You will be able to see the image selected in the plugin’s preview option. You can switch to another image by clicking on the arrow.
While the images should be safe to use, I still stand by making sure you either own the image or have the proper permissions to use it. Legal action over images taken without permission has ended many websites.
Create Quality Images
The featured image is the first image a visitor will see when looking at a piece of content. On top of being the first image in the content, it also doubles as a thumbnail when it appears on a search engine or when you share it on social media sites.
For this reason, the quality of the featured image matters more than any other. Thus, I highly recommend using quality images.
There are many sites you can use to purchase high-quality images or even get them for free, but when you are starting out, it might put an unnecessary strain on your wallet. Instead, I recommend making your own images when possible.
Why are you setting featured images via the URL in WordPress? Should WordPress add this as a basic feature?

Thank you for this. Do you know of a way to auto-pull images from an article/website link in? Like Facebook does? My client wants to comment on published articles (from other sites) but doesn’t want to have to manually choose and upload an image.