Some content can have a long shelf life and stay relevant for years to come. This is known as evergreen content, and one way you can help content stay in the spotlight is to share old posts on social media. This can be done automatically from WordPress with the right plugin.
Luckily, I have found the perfect one for the job, Revive Old Posts. This plugin will allow you to automatically share WordPress posts on social media. Most plugins with this functionality focus on new posts, but this one was made to accommodate older posts as well.
Today, I will demonstrate how to share old posts with the Revie Old Posts plugin for WordPress.
Why Share Old Posts on Social Media
By default, WordPress is designed to promote your newest posts by putting them at the top of your blog. And this is the smartest choice, after all, new posts need some help to get views. However, this can easily bury older posts down the list.
At this point, it’s up to the traffic you receive from search engines.
However, if you share the posts with your social media following, you can give older posts a second life. This is also an amazing technique to use on holiday-specific posts. For instance, it’s quite common to come up with a Christmas-related post for a blog.
As long as the post is still relevant, it could be shared every Christmas to maximize the views.
This technique is also crucial when you are updating older content. For instance, if you made a WordPress tutorial using the classic editor, that would no longer be very relevant since most people use the Gutenberg editor now.
Thus, you would want to update the post, and sharing it on social media can get it the views it deserves.
How to Share Old Posts on Social Media
Step 1: Install Revive Old Posts
The Revive Old Posts plugin allows you to share old posts on multiple social media accounts including Facebook, Twitter, LinkedIn, Tumblr, and more. This process can be automated and it also works for new posts as well.
It also has a host of other features like tracking how much traffic comes from sharing these old posts. To accommodate newer content, you can schedule when the plugin will share posts at the exact moment they are published.
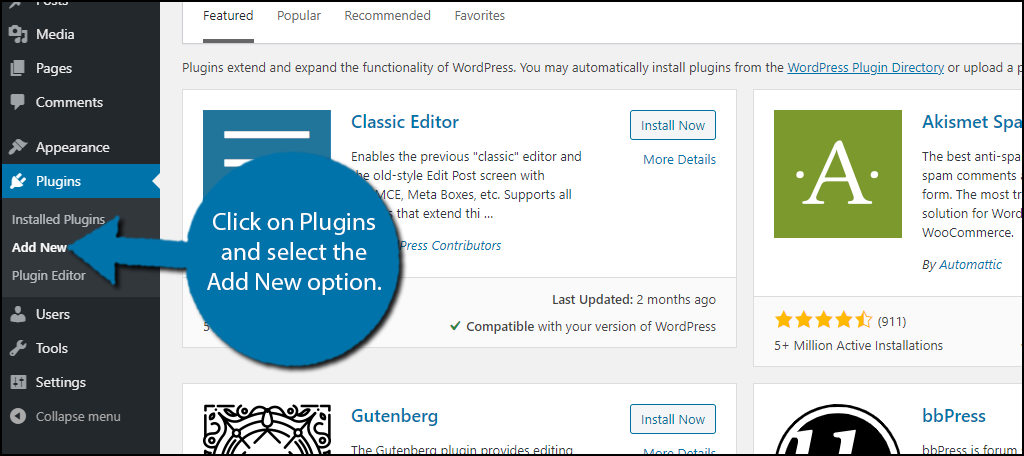
To begin, click on Plugins and select the Add New option on the left-hand admin panel.
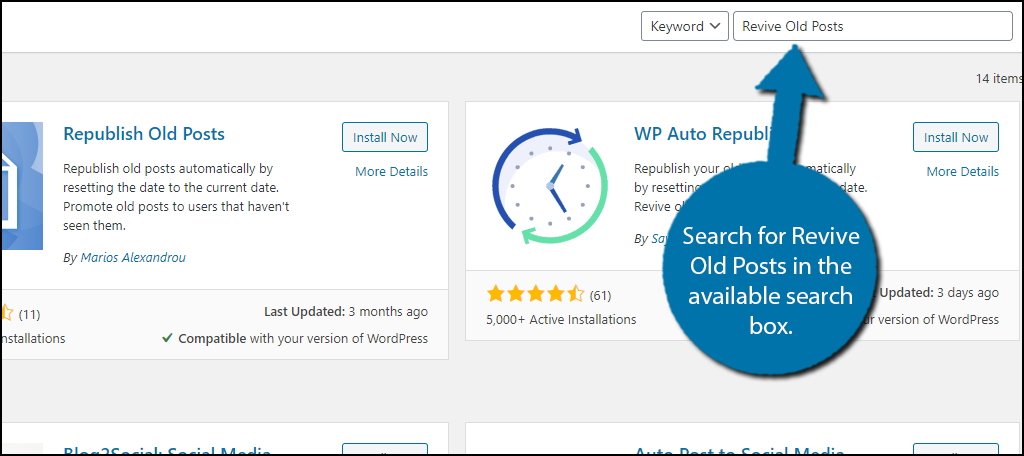
Search for Revive Old Posts in the available search box. This will pull up additional plugins that you may find helpful.
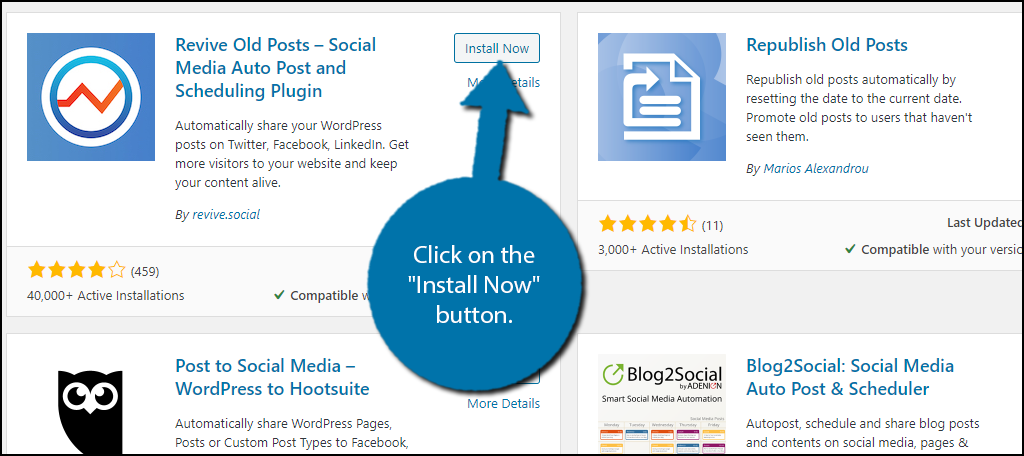
Scroll down until you find the Revive Old Posts plugin and click on the “Install Now” button and activate the plugin for use.
Step 2: Connect Your Accounts
This plugin is very easy to use and shouldn’t take very long to set up. You will need your social media account information to allow the plugin to automatically send posts from WordPress to the desired account.
On the left-hand admin panel, click on Revive Old Posts and select the Dashboard option.

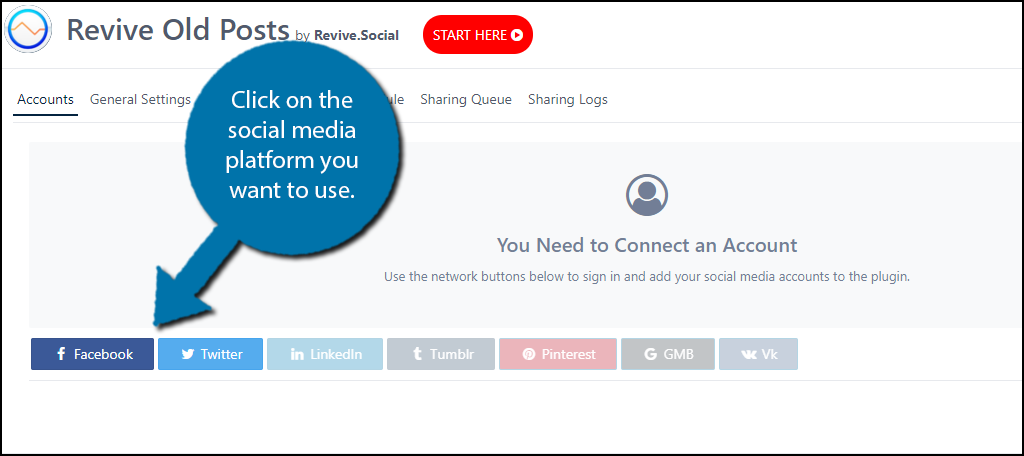
You will see a series of buttons for social media platforms that include Facebook, Twitter, LinkedIn, Tumblr, Pinterest, GMB, and Vk. Click on the social media platform you want to use.
Note: The free version of this plugin only supports Facebook and Twitter.
A small pop-up window will appear asking you to either sign in with your login info or you can use API Keys. Either option will have the same result.
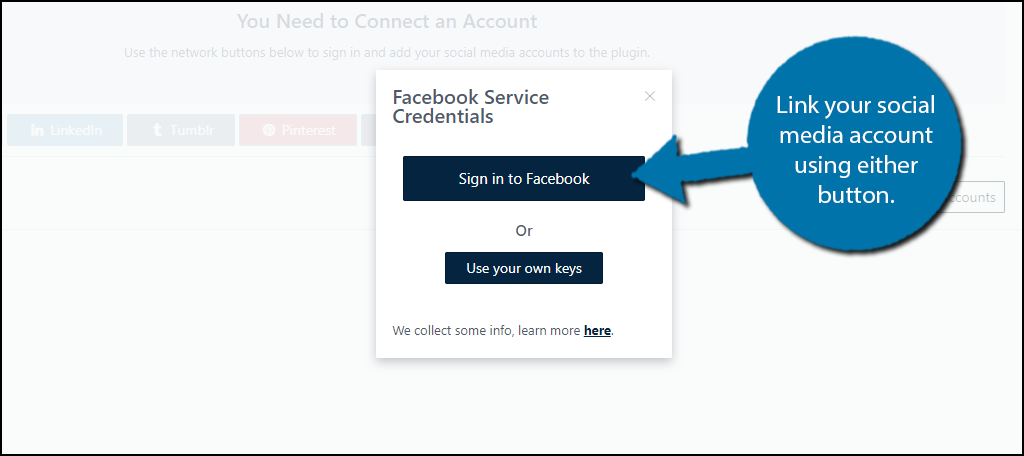
You can repeat these steps to link all of the social media accounts you want. After all, the plugin allows you to post on all of them simultaneously.
Step 3: Settings
With your account linked, it’s time to start going through the various settings to ensure the plugin works the way you want it to.
Click on the General Settings Tab.
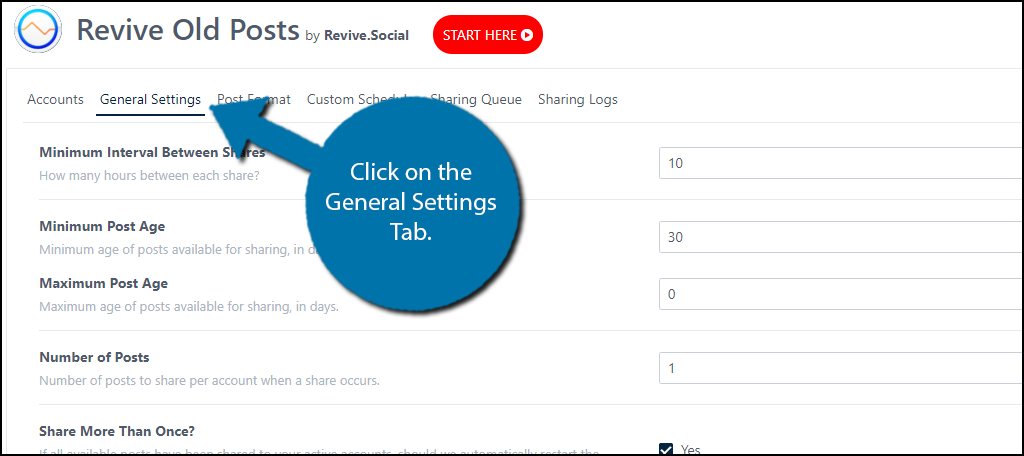
Here you can go through the various settings the plugin offers.
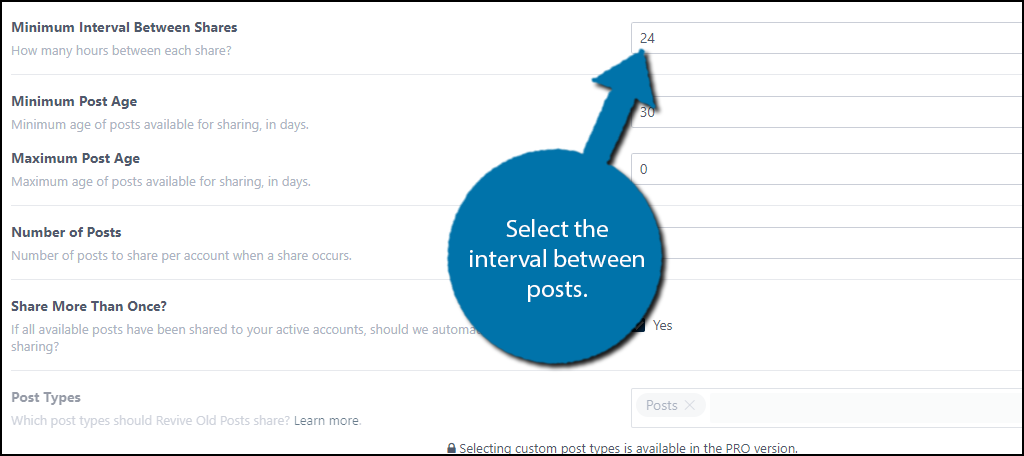
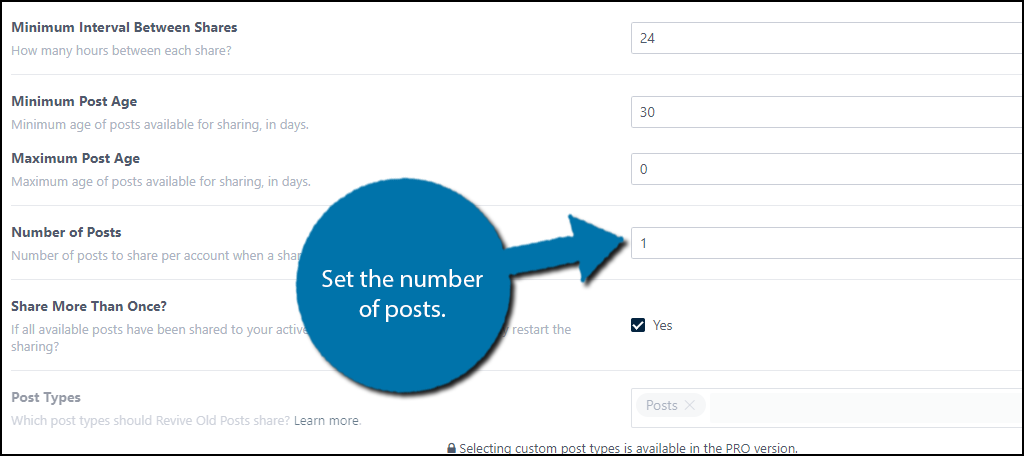
The first option is the amount of time between each post by the plugin. It is very important to ensure that you are not spamming posts on your social media account. This can drive away followers. I would personally limit it to one a day, which means you need to set the value to 24 hours.
Select the interval between posts.
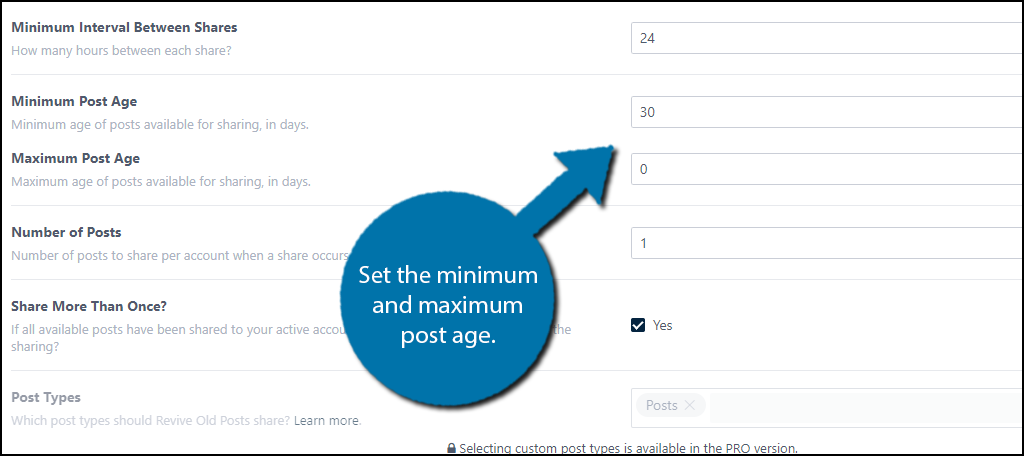
Next, you need to select the minimum and maximum post age. These values will determine what posts the plugin will share with visitors. You want to make sure the interval is big enough to match the age of the content on your website.
After all, a website that has been producing content for years is quite different than a blog that has only been around for a few months.
The plugin allows you to share multiple posts on each social media account. By default, the value is set to 1. This means one post will be shared per account when the interval occurs. You can change this value, but I suggest leaving it at 1.
This helps avoid spam.
The rest of the settings are a series of checkboxes. Simply go through each one and select the option that works best for your website.
Click on the “Save” button when you are finished.
Step 4: Post Format
Next, you’re going to need to configure how the posts appear on their respective platforms. Each platform has a unique set of options. I will go over the Twitter options in this example.
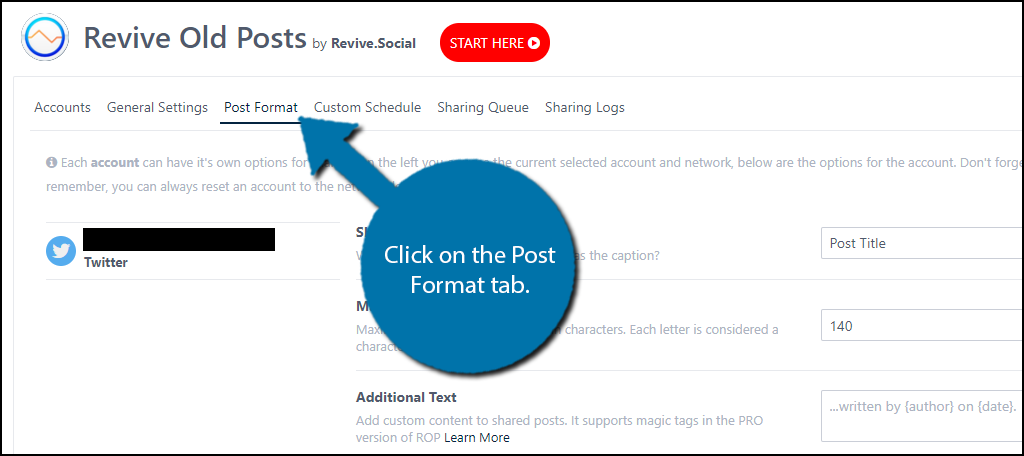
Click on the Post Format tab.
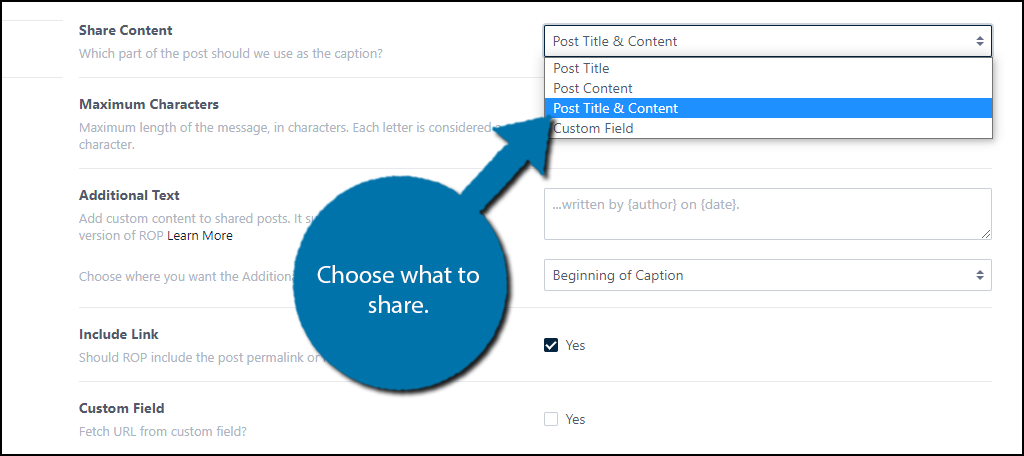
The first option you need to select which piece of the post will be shared. You can choose between the post title, content, title & content, or a custom field. I would recommend the title & post option, but the choice is yours.
Select the number of characters the tweet with your old post will contain. Remember that the limit of characters on Twitter is 280 per tweet, so you cannot exceed this value. That said, the typical tweet is only 33 characters, so don’t go overboard.
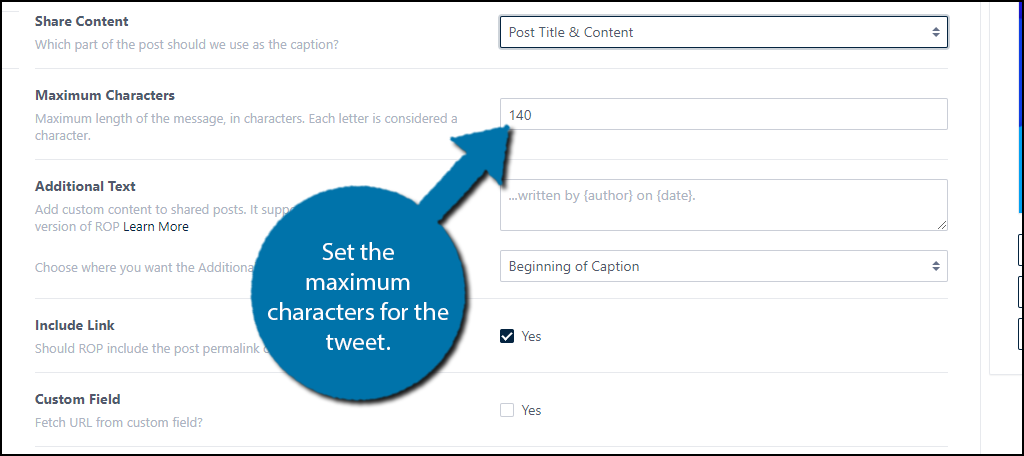
You can choose to include some additional text in the box below this, but remember the size of your tweet. The most important option after these is to make sure that Revive Old Posts (ROP) includes a link to the post.
Without a link, there isn’t much of a point.
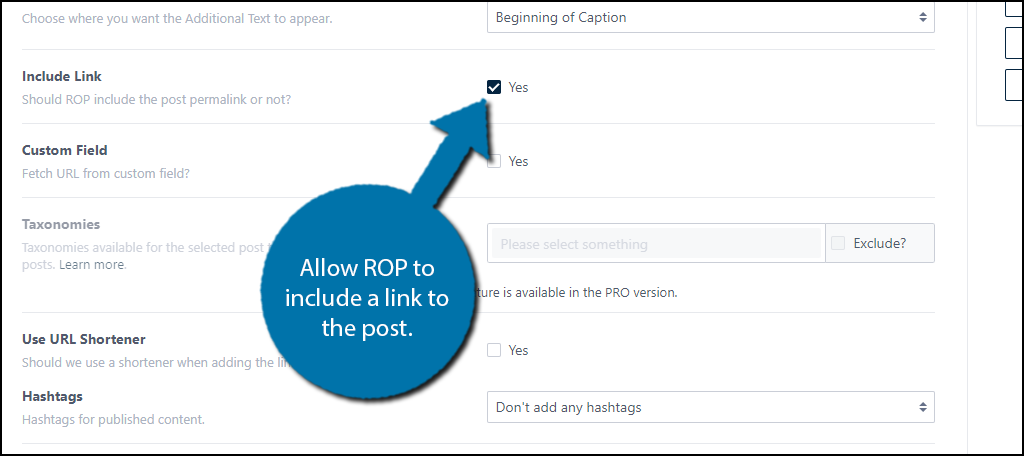
Go through the rest of the settings and click on the “Save post format” button at the bottom when you are done.
Note: If you are interested in using Facebook for reposting old posts, the process is quite similar to Twitter, however, there are more Facebook-specific options.
Step 5: Turn On Sharing
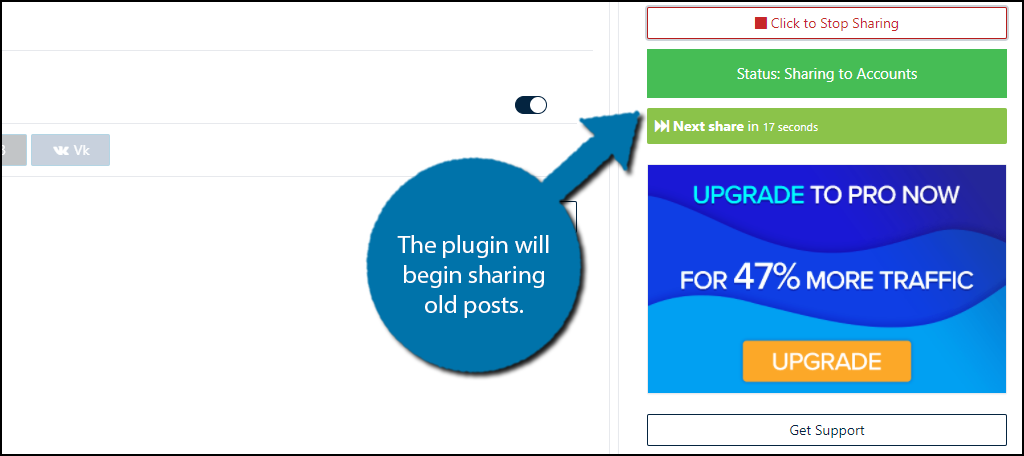
There are other tabs that you can explore for this plugin, but once you are happy with your settings, you must turn on sharing. This will enable the plugin to begin sending old posts to social media accounts.
Simply click on the “Click to Start Sharing” button.
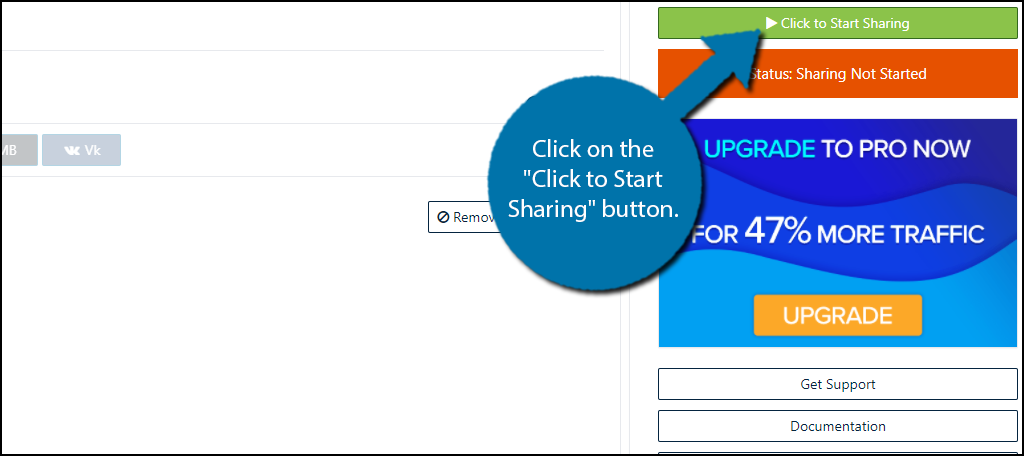
The status will change to “Sharing to Accounts” and below that, you will see a timer for when the next social share will occur. It should begin 20 seconds after activation. Thus, you may want to time it properly.
Congratulations on learning how to repost an old post on Facebook, Twitter, and other various social media platforms with the Revive Old Posts plugin.
Don’t Let Good Content Go to Waste
Sometimes, posts just don’t perform the way you want them to. In some cases, there is some really good content that is wasting away. By sharing old content on social media, you can help get the posts the attention they deserve.
Help your content succeed, by sharing it with your following.
How easy did you find the plugin to use? How often do you post old posts to your social accounts?
