Do you want to add a search bar on your WordPress website? Search bars are a great way to help your visitors find specific content on your website. For example, if they are looking for a specific article, they can type the article name in to find it. Not only are they useful, but they are also extremely easy to add.
Search bars become more useful to websites with time. The longer a website is around, the more content it will produce. The more content that is produced, the harder it is to find older content. Of course, this can be easily fixed by adding an archive page as well. Today, I will demonstrate how to add a search bar in WordPress by using a shortcode.
Why Add a Search Bar in WordPress
A search bar’s main purpose is pretty obvious, that is to allow visitors to search for more content. As a website gets older, content is pushed away from the front page and it becomes more difficult to find and thus be viewed. It’s generally only viewed by search engines and archive pages.
Of course, if your website does not rank high, you may not appear in search engine results. Relying on this as a method for older content to get views is not the best idea as an unranked website. Instead, giving visitors a way to easily search for content on the website is a much more reliable way to get views.
How to Add a Search Bar in WordPress with a Shortcode
Today, I will demonstrate how to add a search bar in WordPress by using a shortcode. No additional plugins will be necessary, but you will need access to your cPanel. Login for your cPanel is provided with your web hosting when you create an account. You should make a backup of your website before beginning. Whenever you are directly editing code, create a backup. This will allow you to revert to before you edited the code in case a fatal mistake was made.
Let’s start by logging into the cPanel and clicking on the File Manager option. The File Manager will allow you to access all of the files related to your website.
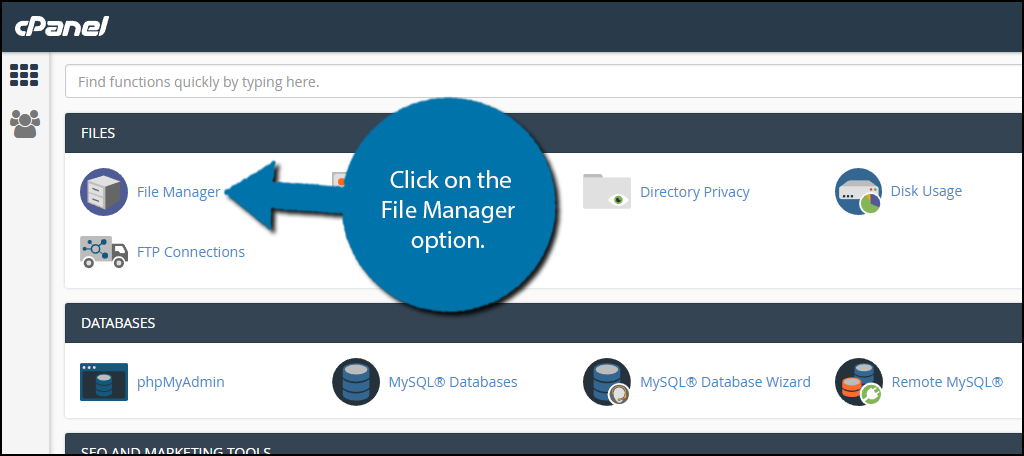
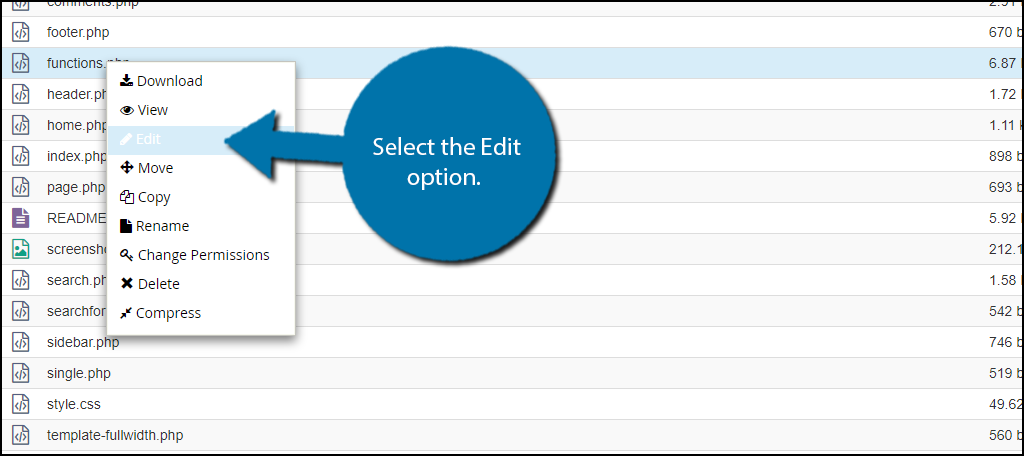
You need to locate your theme’s functions.php file. Click on the public_html directory, then click on the wp-content folder. Inside of this folder, you will find all of the content related to your website. Click on the themes folder and enter the folder of the theme you are currently using. Finally, right-click on the functions.php file and select the Edit option.
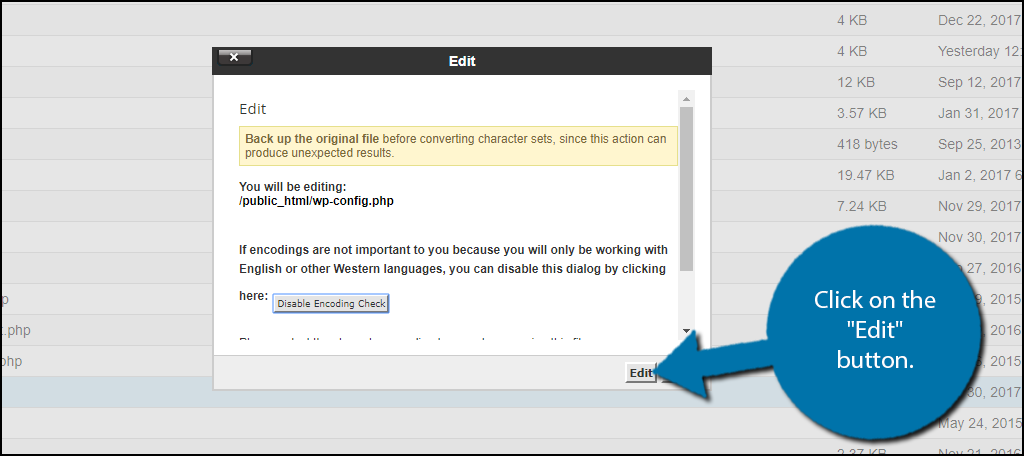
A pop-up window will show up. This box will warn you to create a backup of your files before editing anything. This will ensure that you can revert your website back to when it was working if something goes wrong. Click on the “Edit” button. A new tab will open containing all of the code from the file.
Copy and paste the following lines of code into the functions.php file. This will create the shortcode for adding a search bar:[ht_message mstyle=”info” title=”” show_icon=”” id=”” class=”” style=”” ]function searchbar( $form ) {
$form = ‘
’;return $form;
}
add_shortcode(‘searchbar’, ‘searchbar’);[/ht_message]
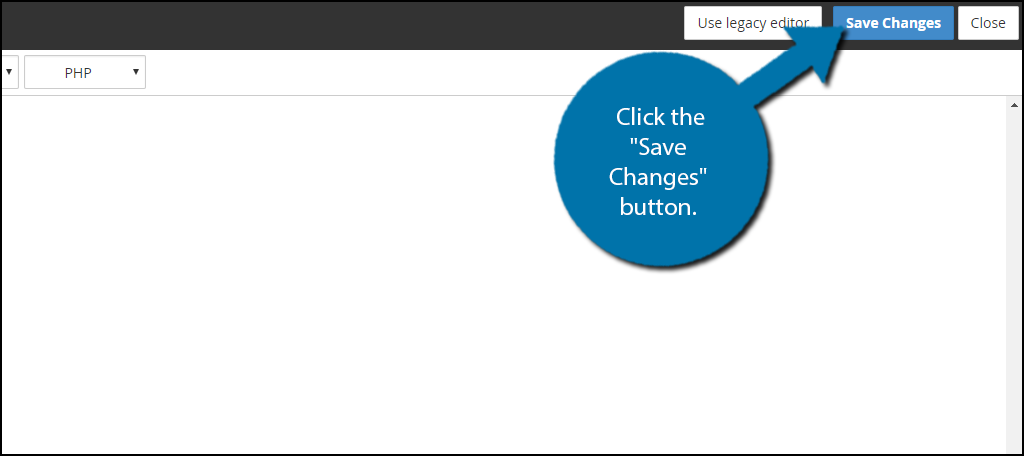
Once you have inserted the code into the functions.php file, click on the “Save Changes” button to finish.
Now it is time to place the search bar. You have quite a few options for placement. The first option is to directly insert the search bar into your posts or pages. Open an existing or a new post or page and paste [searchbar]. This will result in the following:
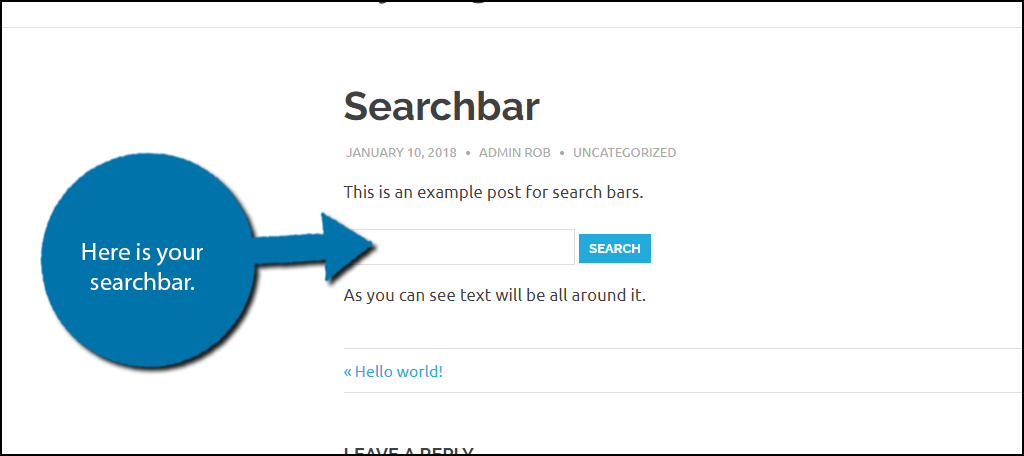
Doing this has a few downsides. As you can see, the search bar will appear within a body of text. The second problem is you have to add this shortcode to every post and page you want it in. A better alternative is to add it to the sidebar. This will ensure it is visible on every page and post.
On the left-hand admin panel, click on Appearance and select the Widgets option. The widgets page allows you to customize sidebars, floating footer bars and other widgets on your website.
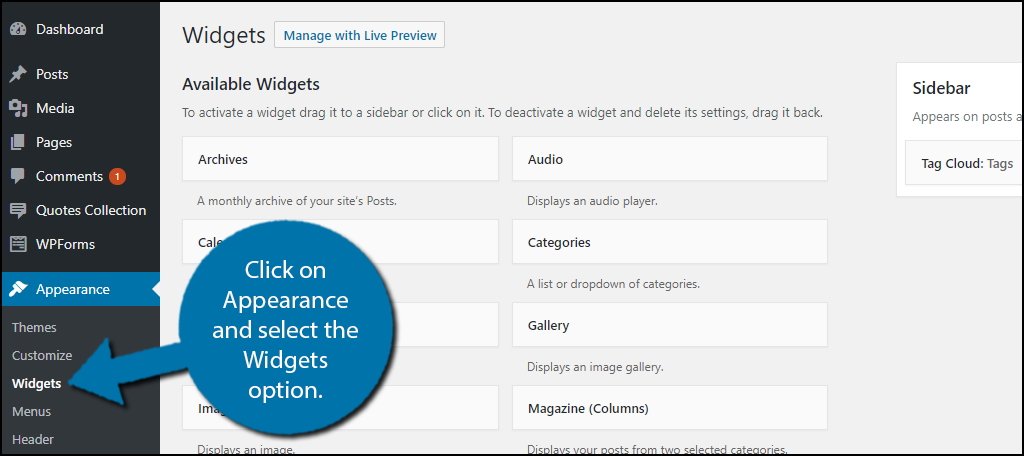
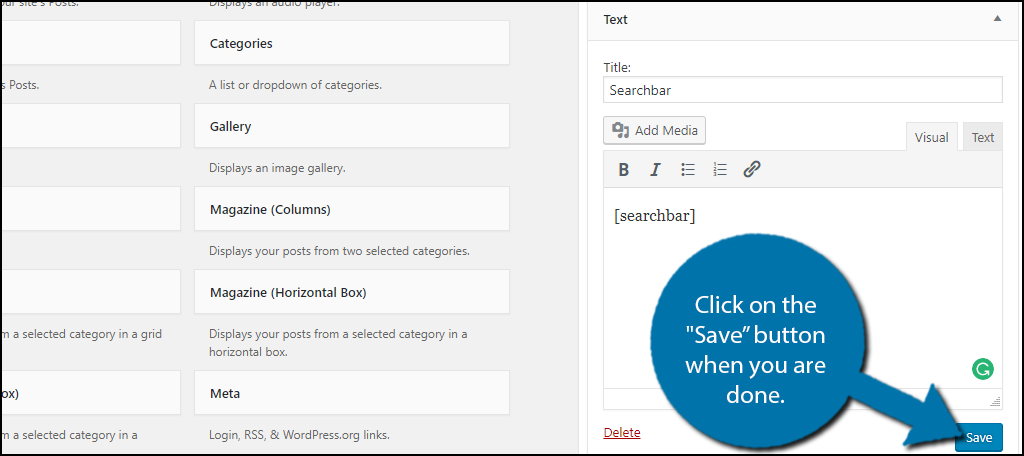
Locate a text widget and drag it onto your sidebar. Feel free to drag it elsewhere if you want it in a different location. Name your text widget and add the shortcode to the textbox. Click on the “Save” button when you are done.
The search bar will now appear in your sidebar or wherever you placed the text widget.
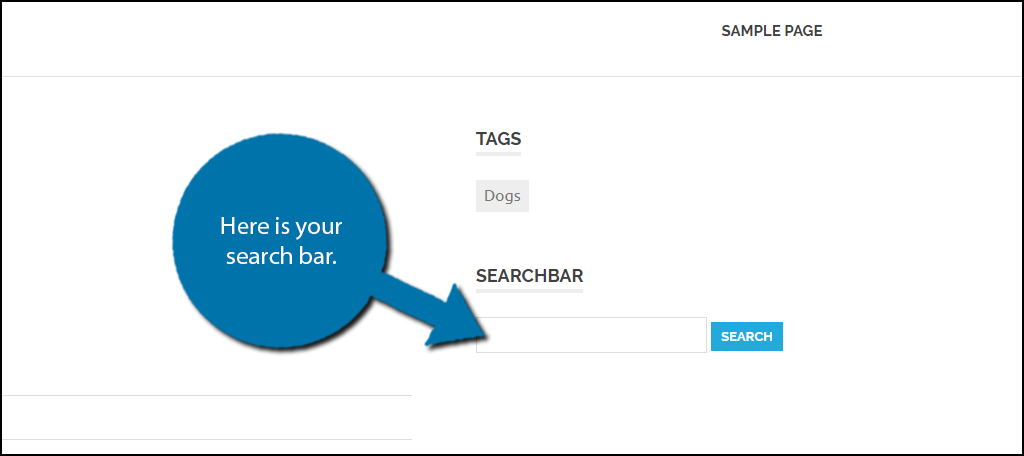
Congratulations, you have successfully added a search bar to your website. This is by far the best location for it and it will appear throughout your website instead of on pages or posts that have the shortcode on them. Other locations work as well. As long as you can insert the shortcode, it will appear.
Keep Your Content Easy to Find
As you add more content, it becomes increasingly difficult to get all of your content to be viewed. The older content will really struggle as time goes on. Adding features like search bars or archive pages will help you improve your website’s accessibility. Keep in mind that you may wish to create a redirect page in case your visitor’s search does not pull anything up.
Currently, the search bar will give a 404 error if the search is not found. Adding a redirect will help keep your visitors away from these error messages. I would recommend redirecting them to the archive page so they can see all of the content your website offers.
How do you like the search bar? Where have you placed the search bar on your website?

Got this error :
Parse error: syntax error, unexpected ‘role’ (T_STRING) in C:\xampp\htdocs\short_vending_wp\wp-content\themes\short-vending\functions.php on line 193
line 193 > $form = ‘
Is it possible to limit the search to a “Brand” or “Category” of a Woocommerce product?
Thank you
Yes, it is. Some WooCommerce plugins available have this built-in specifically.