Softaculous allows you to easily install almost every content management system (CMS) available, and Moodle is no exception. In this tutorial, we will focus on using Softaculous to install Moodle, which will allow you to quickly get a website set up and ready for use.
Today, I will demonstrate how to install Moodle using Softaculous.
What is Moodle?
Moodle is actually an LMS, or Learning Management System, that focuses on meeting the needs of educators. In fact, it is one of the most popular choices among LMS’s with a staggering 23% market share.
Moodle or Modular Object-Oriented Dynamic Learning Environment gives educators powerful tools to create content for students, while also supporting collaborative learning environments.
And it supports over 120 languages!
It is important to remember that Moodle is open source, which means it is completely free to use, highly customizable with over 1400 plugins, easily scalable to aid fast-growing businesses, and very secure to boot.
And on top of this, Moodle is very mobile-friendly. It is fully equipped with the tools to allow students to upload images, attempt quizzes, submit assignments, receive notifications, and much more all from your mobile device.
While you may think Moodle is just used for education, that isn’t true. It is used by businesses, government entities, and other websites that have a need for a community system. And of course, it can be self-hosted quite easily.
Installing Moodle
Before beginning, make sure you have access to your web hosting account. This will grant you access to cPanel. If you are unsure about the login information, make sure to contact customer support.
Step 1: Use cPanel
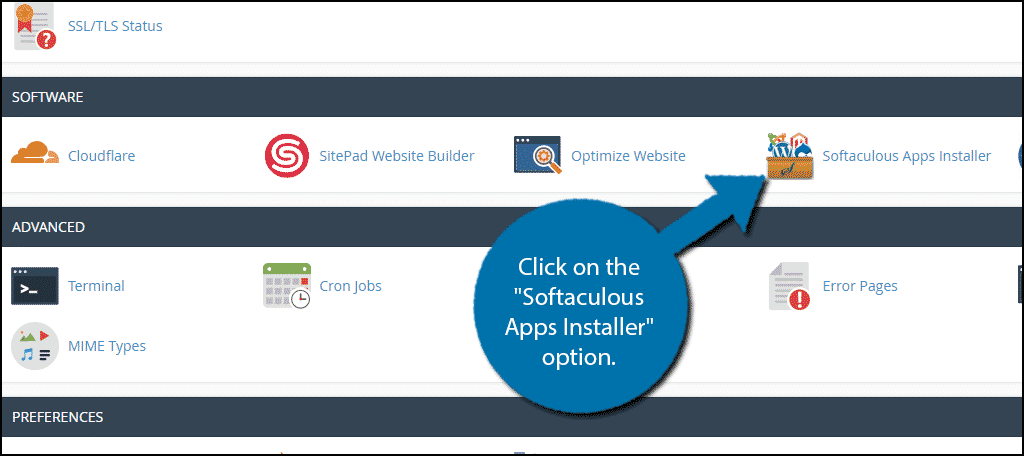
The cPanel is full of useful tools that allow you to customize your domains and subdomains accordingly. Scroll down to the Software section and click on the “Softaculous Apps Installer” option.
Step 2: Search for Moodle
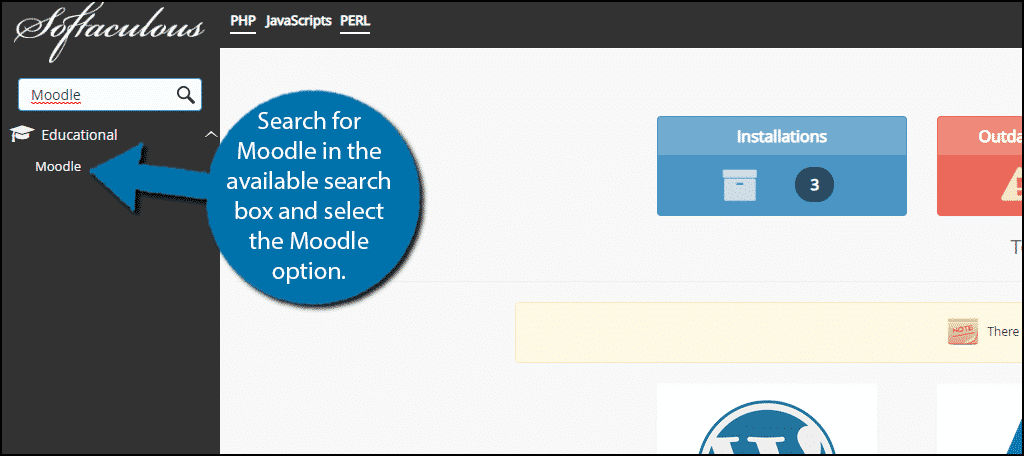
Softaculous can install over 300 apps, which means we need to do some searching, but luckily, it’s easy to do. Search for Moodle in the available search box in the upper left corner and select the Moodle option.
Step 3: Click on Install Now
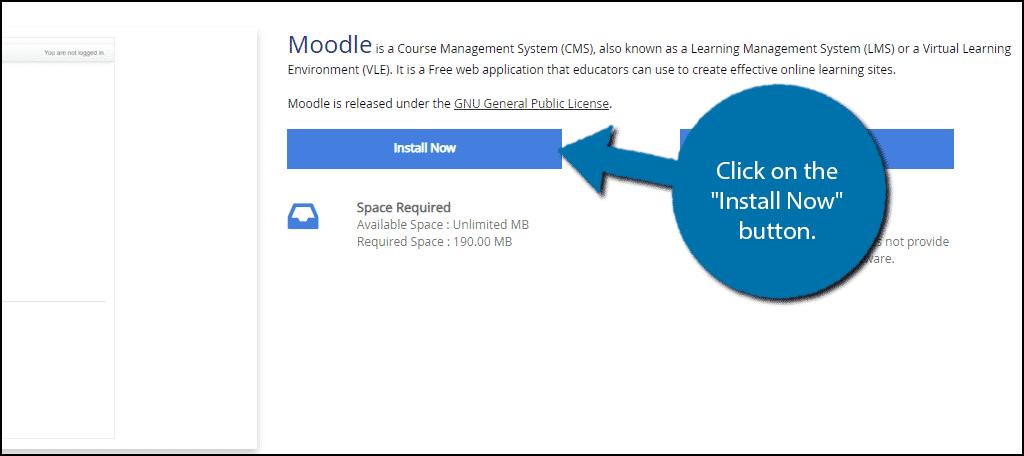
This will bring up the main Moodle page with a list of features and a description of the system. Click on the “Install Now” button.
Step 4: Software Setup
You will now need to go through the various settings. One of which is the version you are installing, which should be the latest version by default. You have the option to install older versions of Moodle, but it’s better to use the most current option. This will help prevent exploits and compatibility issues later on.
On top of this, you will also find other settings like what the folder will be named, selecting a username and password, admin email and more. Simply go through each setting and change them accordingly.
Note: I urge you to make a strong password. A strong password should include upper and lowercase letters, numbers, and special characters, while also avoiding common phrases and dates like your birthday.
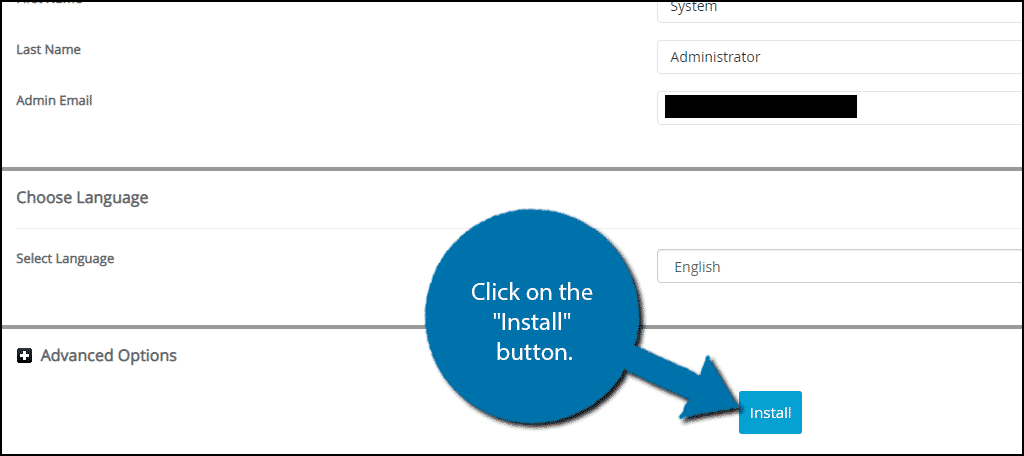
Click on the “Install” button when you are done.
The installation may take a few minutes to complete. Once you see the congratulations page, you are good to go!
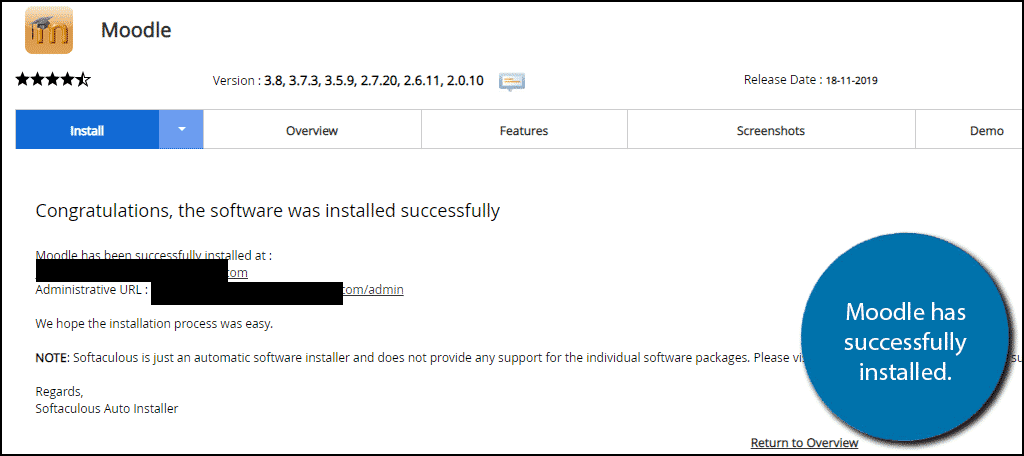
All that’s left is to create some courses on your new Moodle install.
NOTE: Give the DNS a bit of time to propagate your URL. The links under the “Congratulations” message may not work immediately. Many web hosts suggest giving up to 48 hours, though this usually happens within 10 to 15 minutes. This is because the URL has to become recognized by the Internet Service Provider.
Installing Moodle is Just the Beginning
Installing Moodle is only the first step to creating a fully functional website. You have a lot of work ahead of you, but luckily, Moodle is very simple to create content on.
The less time you spend fumbling with the settings means you have that much more time to create quality course material. On top of how easy it is to use, I am positive you will be overwhelmed by the number of customization options available in this LMS.
And we have plenty of Moodle Tutorials to help you along the way.
